Tampilkan postingan dengan label Inspiration. Tampilkan semua postingan
These are my favorite kinds of projects/posts my friends! Quick DIYs that are easy to replicate and aren't going to break the bank. This one is especially easy! 

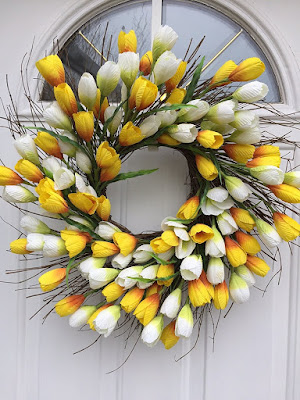
I found this tulip wreath and fell. in. LOVE with it: 
Full white and yellow tulip wreath

But the price? Seventy dollars?? 😳 It's gorgeous but I knew I could make my own. 

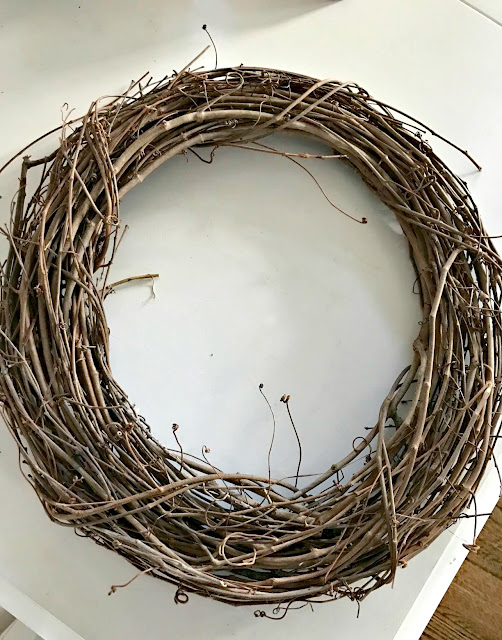
I gathered my supplies -- this grapevine wreath I had already. I recommend grabbing one when they're on sale (I believe this one was $5 after half off). I love these because they're SO easy to stuff with seasonal items:
Grapevine wreath for spring DIY projects

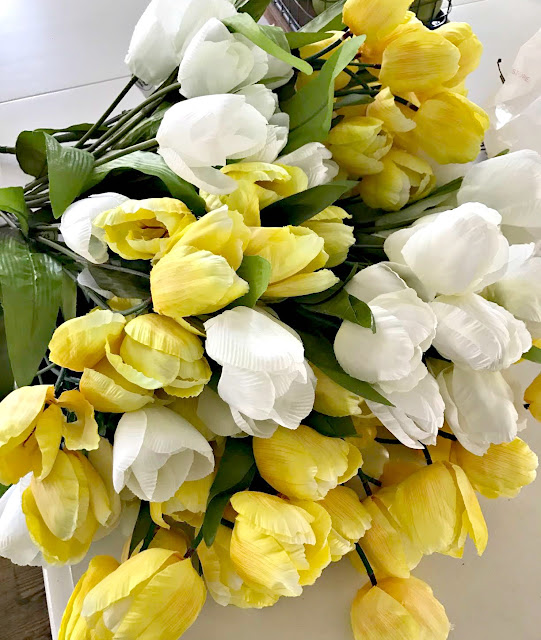
Then I went to Hobby Lobby because their fake flowers were half off. I grabbed way more than I needed just in case (they're usually half off every other week so I wanted to make sure I had enough): 
Affordable fake tulips

So pretty! 

I used my wire cutting pliers and started cutting the stems off the bunches: 
How to cut fake flowers

Then you just stuff them in! It really is so easy. Just place them where you want. 

I thought it looked pretty with just a couple bunches on there:
How to make your own spring wreath

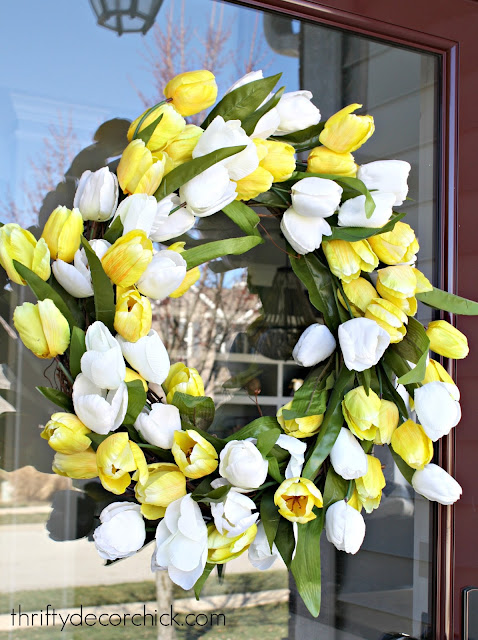
But I wanted a fuller look so I went with six bunches total: 
DIY large tulip wreath for a fraction of the cost

LOVE it! Mine was $24 and is even bigger than the one online. Score! 

I used six bunches at $4 each. I had the wreath, but as I mentioned, you would easily come in under $30 for a very full and large wreath. If you go with a slightly smaller grapevine wreath you'd be able to make due with fewer flowers too. 

I use a Command hook to hang my wreaths on the glass door. This is what I use and it's made for wet locations. We don't get any of the elements on the door, but I used it just in case. It's stayed up for years and held HEAVY wreaths: 
How to make your own tulip wreath

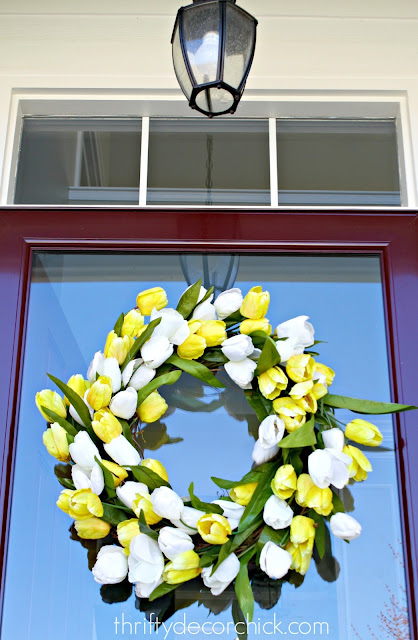
It's hard to get a photo of the glass door without me in it. ;) You don't want to see me in my comfy pants so here you go: 
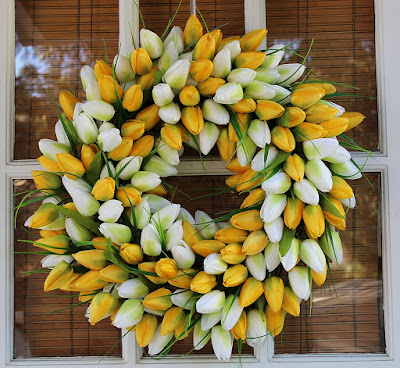
DIY white and yellow tulip wreath

SO pretty! I just love it! Mine measures about 24 inches across, bigger in some spots. You can make it bigger or smaller with your placement of the tulips. 

Of course you can use any fake flower or greenery for a wreath like this! I love that I can take them out, keep them for next spring and reuse the wreath for summer. It takes maybe ten minutes to add the flowers in once you've got them cut. 

If you don't want to DIY this wreath these are some BEAUTIFUL options. I'm so ready for spring!:  
Yellow and white tulip wreath Amazon


Yellow and white tulip wreath


Dark and light pink tulip wreath

LOVE the pink!

Light and dark pink tulip wreath


Affiliate links included for your convenience! 

Hello my friends! Welcome to a new week! I'm back with the before and after link up for this month. If you're new to this shindig and are a blogger, be sure to check below to see how to link up your favorite before and after after projects! And if you're just a reader, you'll find plenty of inspiration below as people link up their projects. 

I like to share a few of the projects from last month that caught my eye first! Carrie's bathroom makeover was a BIG transformation!: 
Beachy bathroom makeover

You really have to check out the before to see how much it changed!

Carli hit it out of the park again with this SMART and pretty coat closet makeover. It's a total command stations now and I love how she used the back of the door:
Command station coat closet

You have to see how the inside looks too -- love it!

This is brilliant and so easy -- Jenn shares how she hides the electrical box in her pretty laundry closet:
How to hide electrical panel

I love all the navy blue touches in here too! 💙

Angela shared how they created some great storage in an awkward spot by their stairs
DIY toy cubby storage under stairs

I loved that it's tiered to fit in with the stairs but offers as much storage as possible for that spot. 

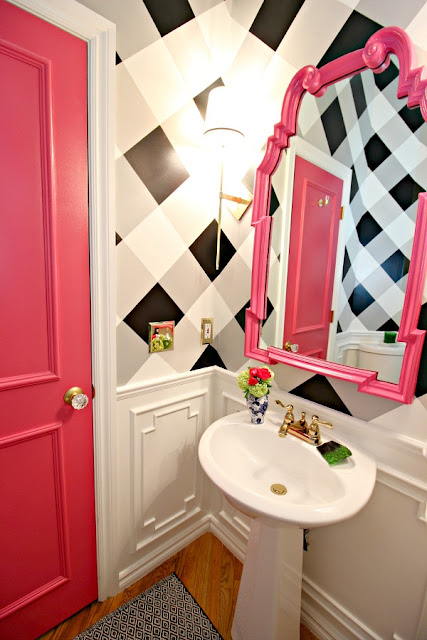
I LOVE Jennifer's use of color and the pink (that door!) looks SO good with the black and white touches in her new bathroom
Pink, white and black bathroom makeover

I don't care what color you paint your doors -- but do it. ;) It adds so much character to a home! See how I've done it here.

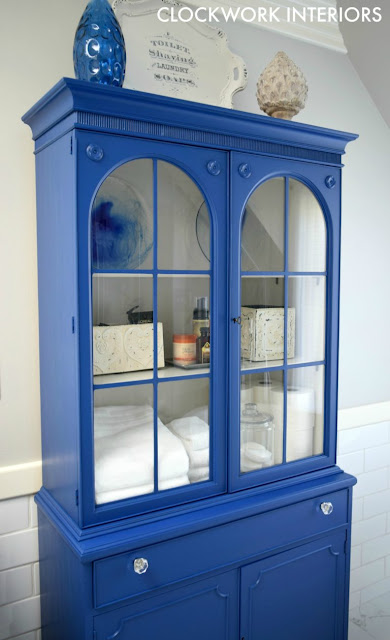
Continuing with our color trend, I loved the awesome storage and pop of blue in Cynthia's light and bright bathroom:
Painted wood cabinet for bathroom storage

She repurposed and old cabinet and this looks amazing! And the storage is great if you don't have a bathroom closet.

Haeley shared her fabulously organized craft closet:
Ultimate craft closet storage

Organized bins and labels make me happy. And I love that you can still see all the color and what's inside each one!

And finally, I was swooning over Melanie's classically beautiful dining room:
dark neutral walls white trim dining room

I LOVE that color -- it's so soothing but looks fantastic against the white trim. I just love this space!

There you go! Some of my favorites from last month -- if you'd like to be considered for next month's share, please add a link to this post or to TDC at the bottom of your blog post. Or you can just copy and paste the code here into your post:

<div align="center"><a href="http://www.thriftydecorchick.blogspot.com/" title="TDC Before and After" target="_blank"><img src="http://www.homestoriesatoz.com/wp-content/uploads/2012/03/beforeAndAfterButton_thumb1.gif" alt="TDC Before and After" style="border:none;" /></a></div>

Now let's see what you've been up to lately! Please link up only you're own projects and/or makeovers!


Hello all! Goodness I'm ready for Friday this week! The sun is out, the house is fairly clean (although picked up and clean are two very different things) and I'm ready to relax for a couple days. We're supposed to get snow tomorrow but Sunday looks promising for good, warmer weather! 

I'm in the spring mood so I'm sharing some BEAUTIFUL spring-inspired tablescapes and centerpieces today. I shared our simple green centerpiece earlier this week and it got me thinking about spring/Easter tables. 

Enjoy the pretty inspiration! You can find the link to the talented bloggers under each photo. 

This is just plain stunning. The gold combo with the peach and pink is lovely:  
Pretty spring tablescape with gold, pink and peach

I love these simple farmhouse centerpiece ideas -- the simple box with flowers is so easy for spring: 
Farmhouse spring centerpieces

Table runners are an easy way to add color and texture to your table -- this painted DIY runner is perfect if you have a long table (it's hard to find long runners in the store!):
DIY painted long runner for table

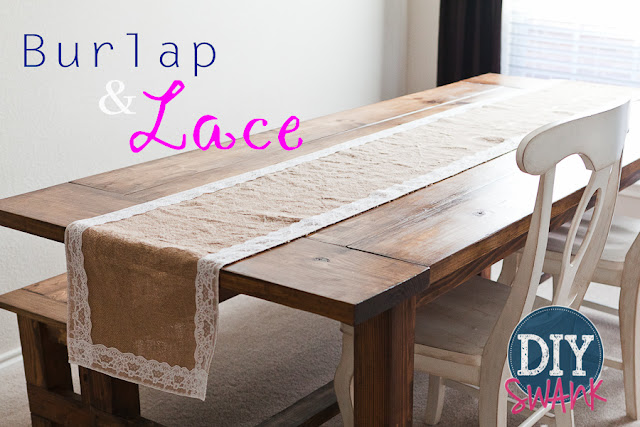
This burlap and lace runner is a simple DIY and would be so pretty for a spring table:
DIY burlap and lace table runner

If you like more COLOR on your table you'll love these next few. These glittered candlesticks are such a cute idea! I love the idea of green, pink and blue for spring:
Pretty DIY glitter candlesticks

I love the darker feel and deeper colors of this centerpiece:
Dark dining room centerpiece

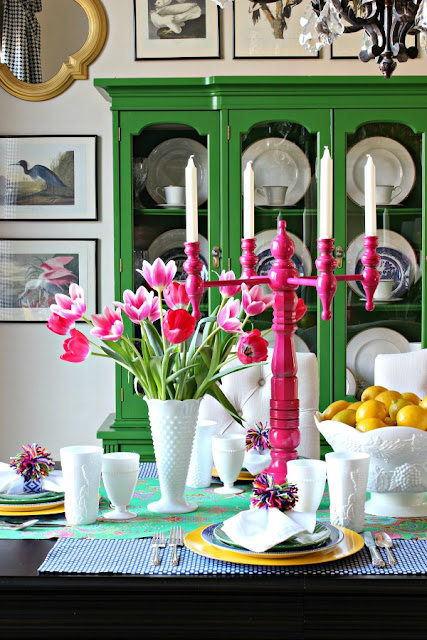
And the bright pink and green combo in this dining room is gorgeous for spring!
Green and pink spring tablescape ideas

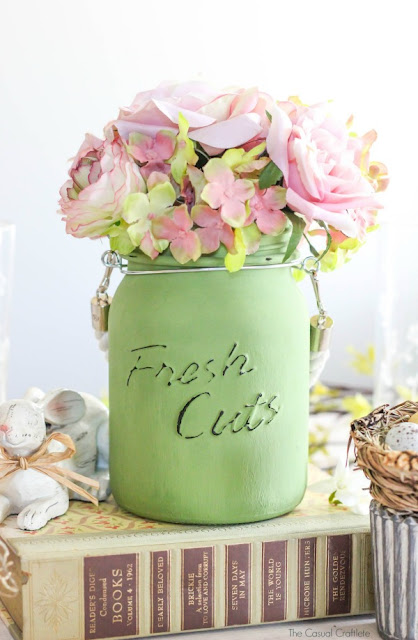
This one is just beautiful -- and easier than you'd think. She shares how to get this distressed look on a mason jar:
Painted mason jar centerpiece

And finally, some pretty ideas for my neutral lovers! I LOVE the moss down the middle of this table! I have a thing for moss and the natural touch it brings -- and it looks great with color or neutrals: 
Pretty natural spring tablescape with moss

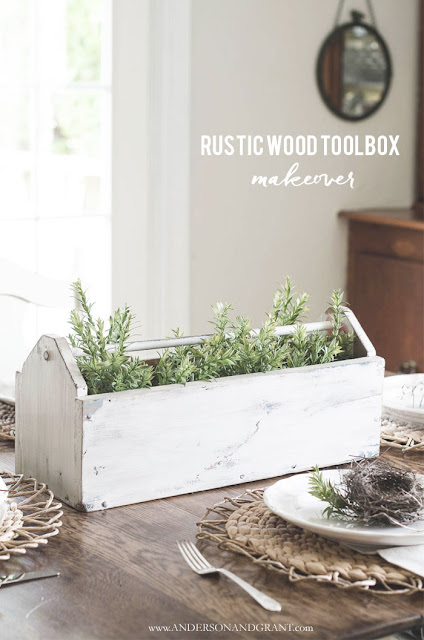
I love the simplicity of the next few. They are easily replicated at home with trays or wood boxes: 
Tool box centerpiece with greenery

You can't go wrong with mason jars in a wood trough. Ever:
Simple box and mason jar centerpiece

And I'm always a sucker for succulents. See what I did there? You can find these half off at craft stores and they'll last forever -- no watering needed:
DIY succulent and candle centerpiece

I love the touches of pink in this one and how they spill out of the box. They look so real!
Easy succulent centerpiece

There you go! Some beautiful inspiration for your spring table! I'm ready, are you? Have a wonderful weekend my friends!

Hello! Are you ready for the weekend? I'll be working on a fun project in the basement -- I hope to share it with you next week! 

I kind of can't believe it but it's true...I am ahead of the game with a decor trend. This NEVER happens. Usually I'll sit by and watch to see if I really like something -- for years -- and buy into some of them when they're not even trendy anymore. It's my thing. 

But THIS time I am right there in it and even though I don't find it "trendy" at all, the color BLUE is all the rage this spring. I think it will continue on throughout the year so if you are a blue lover, rejoice! We are cutting edge my friends! :) 

What I think is particularly funny is I used to say I'd NEVER add blue to our home. I disliked it very much. But minds can change and for years now I've been obsessed with it. You'll find various tones of blue in every room of our home. I also think it's funny that just in the past few weeks I've deliberately been adding in some different colors (that I'll show you soon) other than my beloved blue. I'm always missing the mark. 😂

But I could care less and could write a whole post just on trends. I say if you like them, use them. If you don't, DON'T. Who cares, it's your house! 

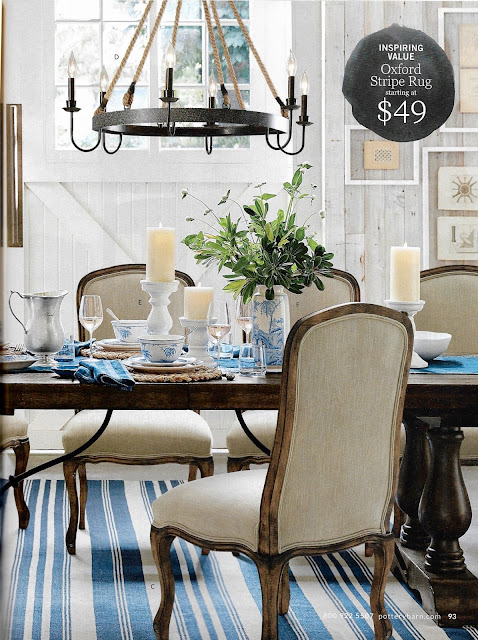
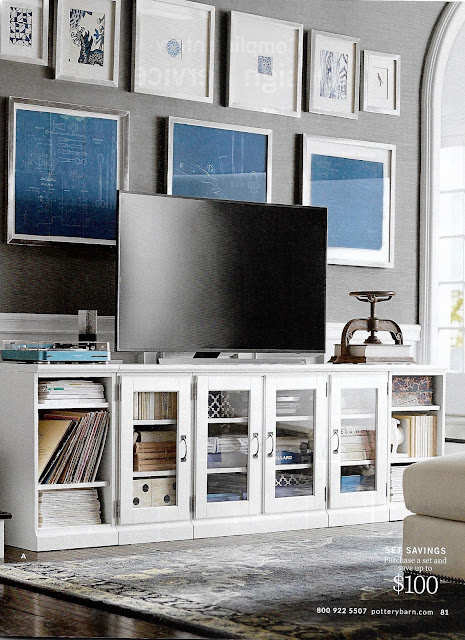
I've noticed blue in many places lately and had to share some of my favorite instances of it and how to use it well. I was at the fancy mall yesterday and was drooling at all of the pretty blues used in the Pottery Barn displays. You can see some beautiful ways to incorporate in their latest catalog: 
Traditional blue decor Pottery Barn

Blue is a chameleon. It looks clean and crisp with white, and can easily go nautical. But with the right touches it can also be both traditional like the photo above, and contemporary like below: 
Blue contemporary decor Pottery Barn

It's all in how you style it. There's something wonderful about this color -- it's grounding like black but with the punch of color. At the same time it's very soothing and easy on the eyes: 
Using blue in decor

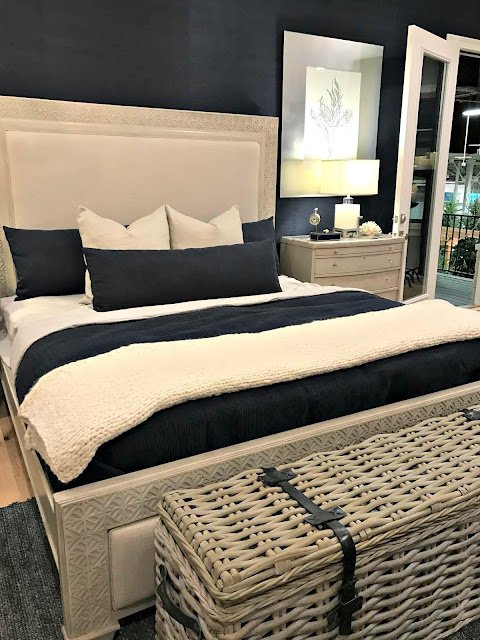
We visited the Indy Home Show last weekend and the model home this year (by Fischer Homes) was gorgeous as always. It had a slightly nautical feel but it went much more modern than I've seen before. There was blue everywhere, which I loved!:
Dark blue grasscloth walls

The walls in the bedroom were navy blue grasscloth -- stunning! 

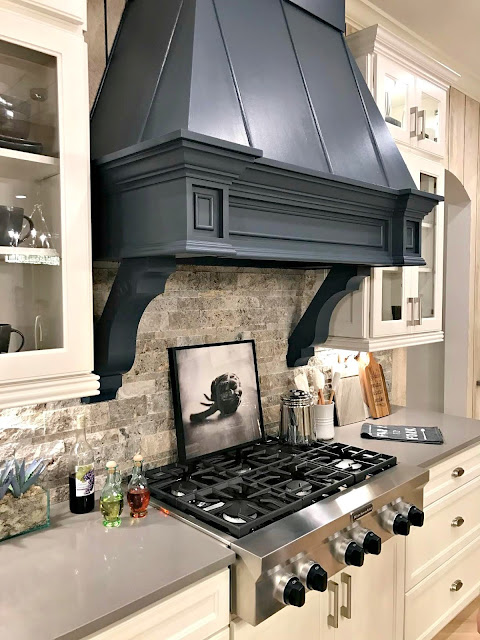
I was obsessed with the dark blue vent hood in the kitchen: 
Dark blue vent hood white kitchen

So lovely against the white cabinets. What a great statement piece. 

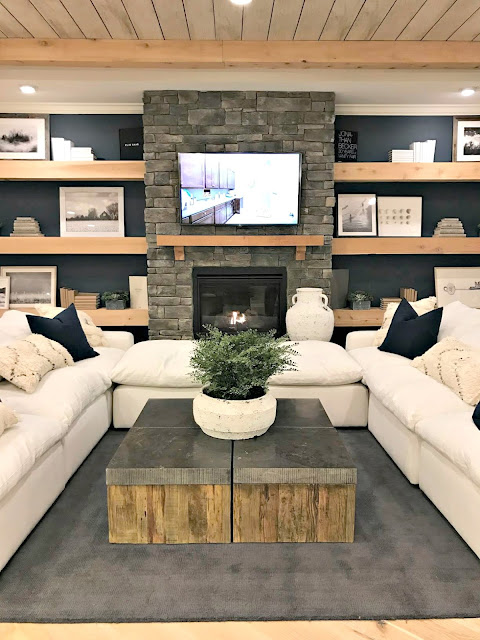
The best part was this dark blue wall with chunky cedar shelves in the family room: 
Dark blue walls with chunky shelves

I just LOVE a navy blue wall! (Check our our son's navy blue bedroom here!)

The decor stores at the fancy mall were filled with blue. This tablescape at Williams Sonoma really caught my eye:
Blue tablescape

So gorgeous! 

Blue is a beautiful color alone but works well with every color -- I honestly haven't seen a blue combo I didn't like. I always lean towards a more classic/traditional combination with white or neutrals, but this color really does work with anything. 

Do you use this color in your home? Are you ahead of the game for once like me? ;) I'm totally reveling in this happening once in my life, ha! 


Well it's a new year and it's off with a bang that ended up with my car being towed into our mechanic. Good times! 😂 I hadn't planned on doing another no-spend month this January but it may be in the cards! I know my post schedule has been wonky for the past few weeks but next week we'll be back to normal. 

I said this last week when I shared my biggest redos of 2016, but this is another favorite post of the year -- I love looking forward to the projects I have in mind for our home for 2017! But first, let's look at my plan for last year and what I knocked off that list! 

I have to admit...I went back to look at that post and I was kind of impressed...with myself. I actually focused on the rooms I SAID I was going to focus on. I'm not usually that good. #squirrel 

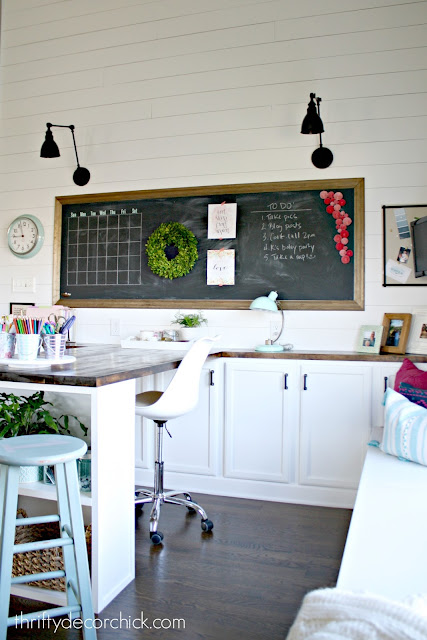
I wanted to complete our loft space and I transformed it into an awesome, organized craft room slash office that we use nearly every day:
shiplap walls with giant chalkboard

This room is one I've been wanting to tackle forever so I'm thrilled it's done. 

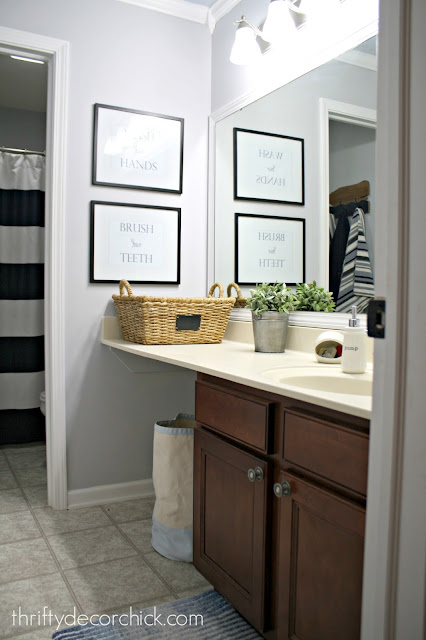
I wanted to update our yellow bathroom from my son's baby days and was able to do it with some leftover paint and a few new accessories: 
light gray and blue bathroom

This room is one I want to redo on a bigger scale this year, more on that in a bit!

I really wanted to get our master bedroom done and I got close: 
dark wall behind bed

I finished painting the room, changed out some accessories and made some new pillows. I still have to paint the nightstands and work on the fireplace wall in there...and then I'm done! Our master bedroom is so bright, clean and pretty. I'm kind of obsessed with it lately and want to carry that feel throughout the rest of our house this year! 

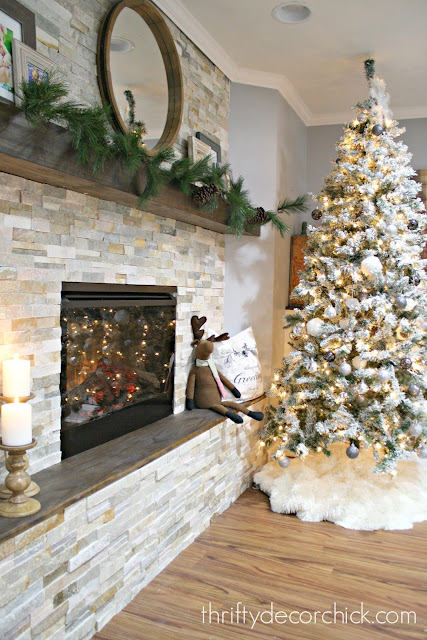
The final big project I was hoping to do this year is one we decided to tackle very last minute -- it wasn't something we thought we would complete at all. After a LOT of hard work on my part tiling this beast, this stone fireplace wall has completely transformed our basement: 
DIY stacked stone fireplace

We sat down there last night and every once and awhile one of us will mention how much we love it. 💓 I'm so happy we were able to make this happen. 

Now onto some fun projects for 2017! I scored nearly four out of four last year and I'm not expecting that to happen again. Goals! ;) I sometimes get asked what I will do when I finish our house. The answer is I have no idea. Ha! I do think it will be awhile. And by the time I finish it will have been years and years since I've finished other rooms so I think I'll have blog content for a long time. We LOVE this house and I have loved making it ours. 

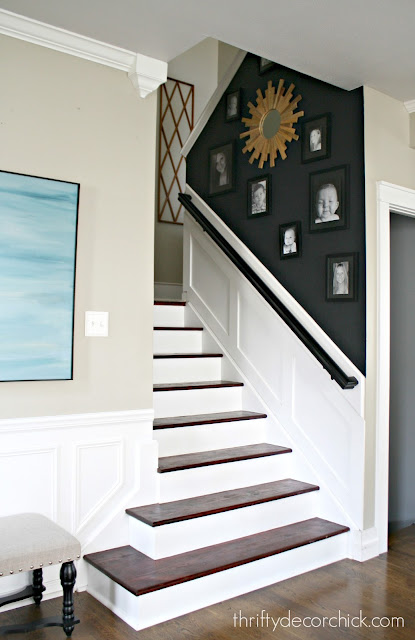
I'm super excited about my plan for our stairs: 
how to take carpet off steps

They have undergone quite the transformation over the years and I'm so happy with them. When I pulled the carpet off and stained them years ago we had carpet throughout the rest of this area so I went with a reddish stain. If you look close you'll notice it, but it hasn't bothered me enough over the years to make it a priority. 

I really want to have them sanded down (professionally because they can control the dust better than I can) so I can restain them the color of our hardwoods. 

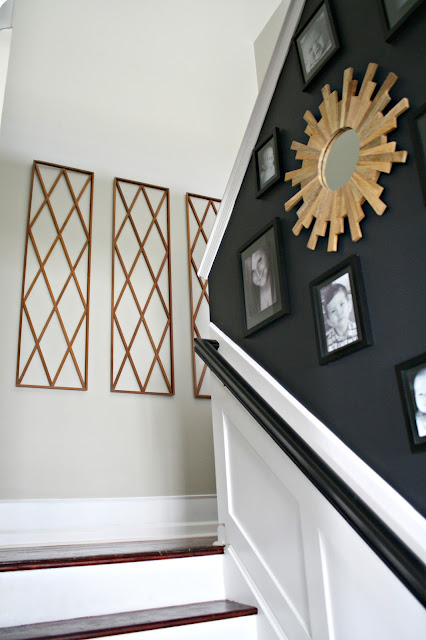
I also have big plans for the walls on the staircase: 
decorating tall staircase

I plan to cover them with a paneled look like we have in our family room. Not all the way up because I value my life...but a good distance. I'm so excited about the crisp white walls against the dark floors! 

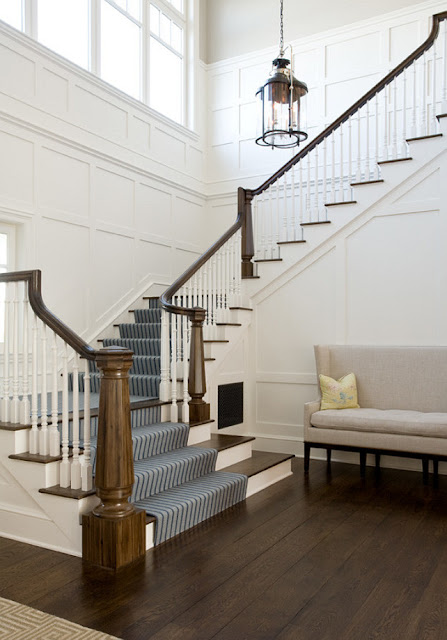
The walls will look similar to those I have on the wall behind our bed above, but here's some more inspiration: 
staircase with paneled walls

paneled wall on stairs

I'm also hoping to add at a couple sconces, but we'll see if I can make that work. I think it would be so lovely to have more direct lighting on the stairs. 

You'll see as I go through my plan that a lot of what I hope to accomplish this year is in the entry of our home. Contrary to most of rest of the finishes in our house, we didn't have many options for tile when we built. So in our foyer I went with a gray/purpley tile that went with our formerly pink walls. I didn't pick pink on purpose (say that three times fast), but it came out that way. 

Anyway, I've never loved it. I actually hate it, but in the scope of life it's not a big deal so we have kept it. OH and tearing it out is going to be a huge, massive pain in the butt, so there's that:
foyer decorating ideas

But this year I want it to happen. I already have a plan in place to extend the hardwoods throughout most of the foyer. I want to use a patterned tile in a smaller area for the entry. We just don't need that much tiled...something we've realized as we've lived here over the years. 

I'm STOKED about this but it won't happen until I get up the courage to take a hammer to that floor. I'll let you know when I do. ;) 

Another big project I want to tackle this year is doing something to the walls in our living room and foyer to make them not feel so...vast. It's hard to see here but our ceilings in this room are two and a half stories tall. I LOVE the open feeling:
living room with two stories

But it feels awkward to take art too high and awkward to have it down too low. You see wide open spaces like this and fall in love, but then you realize how hard they are to work with. I still wouldn't trade them and I have an idea in my head to make the main level walls feel like their own space but work with the tall ceilings. I just need to formulate it further before I make a move. :) 

And finally, one I'm not sure I'll complete this year but really want to start:
two room bathroom

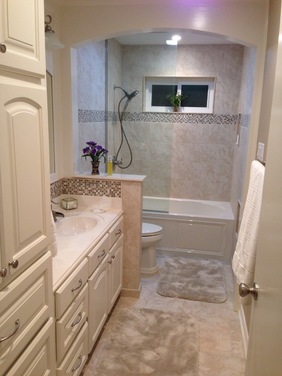
I have disliked that wall separating the bathroom into two rooms since we moved in. It makes what is a decent sized bathroom feel super small and cramped. You can read more about my ultimate plan, but these pics give you a good idea: 
taking down separating wall in bathroom

separating wall in bathroom

The first step is to add a window over the tub -- I'll see from there if the natural light helps open up the room and decide my next steps. I've been planning this redo as long as I can remember but it may not be as big of a change as I anticipate. I have a feeling I'll still want to take down that wall. But we will see! 

I know many of you have our current layout and love it with multiple kids. Since we only have one using it I want to make it better for how we operate. I'm excited to see what happens in here! 

It's going to be a fun year my friends! Of course I have no idea if we'll be able to tackle all of these -- it will depend on our budget as we pay for all upgrades with cash. I'll be able to do a lot of the changes so it will be a lot of sweat equity like always. And as always, I'll take you along for the ride! 

If you've worked on similar projects I welcome your advice! Taken down 1a wall in the bathroom? Worked with super tall walls? Torn up tile on the floor? (Is it as messy as I'm thinking it will be?) Do tell! Thanks again for joining me on my DIY adventures in this home we love! 


Popular Posts