Hello there! I've been working like crazy to finish up the loft space and I'll be sharing the completed room with you next week! I am SO HAPPY with how it's come together. I'm writing you from the room right now and have been in here nearly all day every day (because I love it so much and because I'm trying to finish it up). ;) 

One little space that I finished up (well, started really) was the small Disney wall near the stairs. I knew when I made our Disney pin art months ago that I wanted to hang it in the room: 
DIY Disney Mickey Mouse pin art

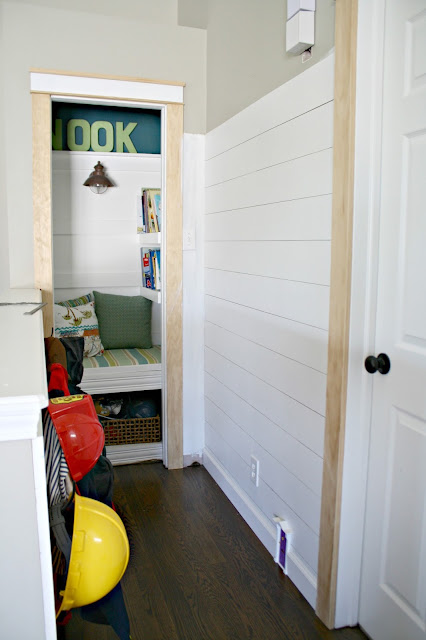
This little wall near our book nook was the one I planned to put the art on: 
adding shiplap look to walls

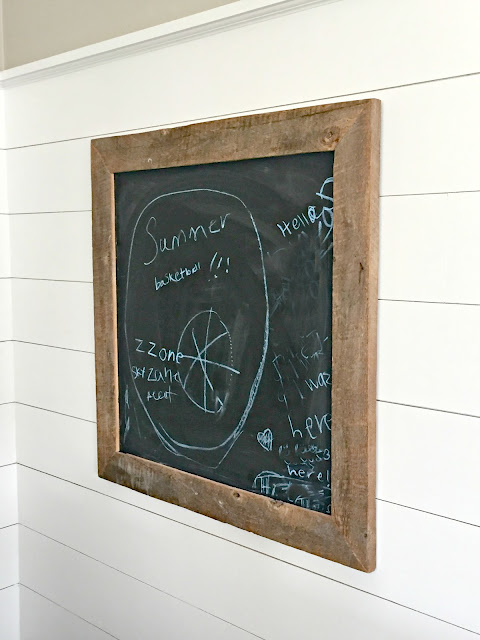
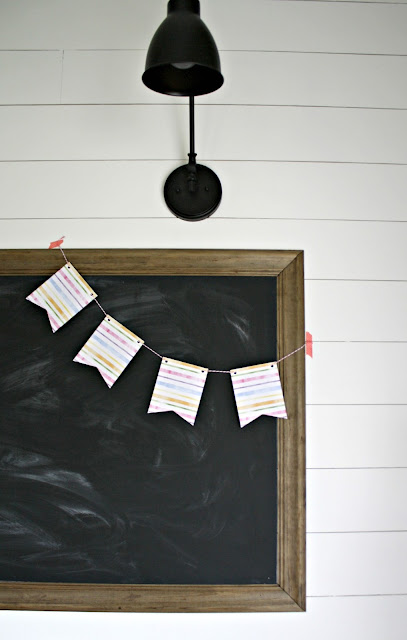
I wanted to frame out the pin art somehow before I hung it but ended up just repurposing a small chalkboard we used to have hanging in another part of the loft. I had an idea to use it again so first I hung it: 
chalkboard with barnwood

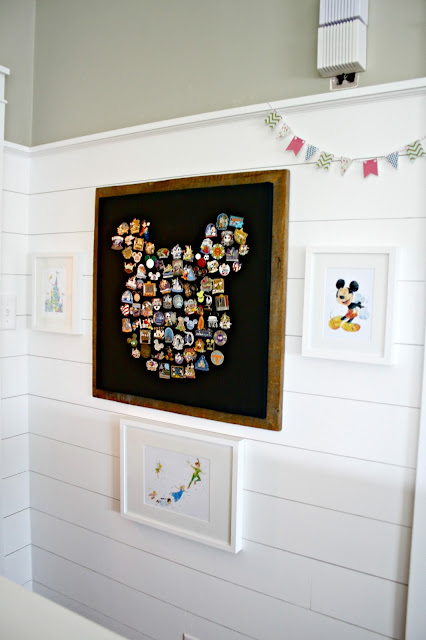
And then I just nailed the pin art on top. :) I'll show you more of that in a minute. 

Then it was time to add some art. This wall will get a few more frames added to it over time (over time means when I take my next trip to IKEA, ha!) but we got a good start. 

I searched Etsy for Disney art and found a few printables I loved. They were inexpensive and I was able to download them immediately -- so easy! I printed them out at home so it took me mere minutes for each one. I link to each one below the photos if you are interested in the shops.

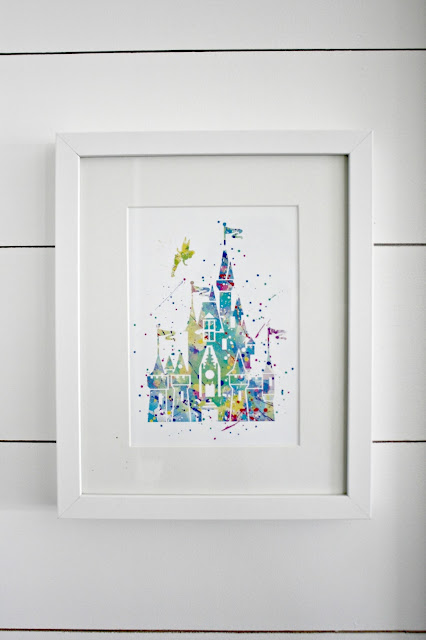
I loved this bright and colorful rendition of the castle: 
Disney castle printable

This version of Mickey made us smile from ear to ear:
Mickey Mouse printable

Isn't he the cutest?? 

I needed a landscape print for the final frame so I downloaded this Peter Pan art: 
printable Disney Peter Pan art

Goodness, I just love them. Each one is so bright and pretty. 

Again, the wall isn't much now, but it makes me so happy when I walk by it. I plan to add at least four more smaller frames next to the pin art: 
Disney pin art

I think I'm going to add to the bottom as well. It's a small wall but in a space most guests don't see so I may just fill it up so we can enjoy it. We have some fun photos from our trips I'd like to add here as well. (And yes, I still need to patch that small drywall spot.) 

You can see here how I just nailed the pin art to the top of the chalkboard frame. :) That art is seriously one of my favorite pieces I've ever made. I love how the wood and black mimics the look of the giant chalkboard on the other side of the room too. 

Even though it's not complete we love it -- and it's come a long way since I added all the farmhouse door trim earlier this summer: 

I can't believe how much this room has changed in just three months! That's fast for me as some of you know. ;) 

Now it's a bright and fun spot that will be a great addition to this space!: 
Disney art wall

Love it and love the backdrop of the white planked wall! And even with the cost of the frames so far it's only cost me about $20. 

Have you done anything fun in your house to commemorate one of your favorite trips or places? You can read more about how we fell in love with Disney and a few of my tips for newbies here


Well hey there! Sorry for the delayed post today -- it was an unexpectedly crazy morning around here and I'm just now sitting down. I'm so excited to show you what I found this weekend though! 

I heard a few weeks back that Magnolia Homes was adding an additional furniture line (in addition to their higher end line) at Value City Furniture. I was surprised but thought it was a pretty brilliant move. Fast forward to this past weekend...my girlfriend texted me Saturday evening with photos of some of the items they were putting out and I knew I had to get over there. :)

Of course everything is beautiful. The prices are decent and the quality seems good from what I could tell. What surprised me was the number of accessories they have in the line. I'll show you some of those first. (This is not a sponsored post, I just knew many of you would be as excited as I was to see it!)

I'm sure you're not surprised that there are a TON of galvanized items: 
Fixer Upper decor Value City

That would be cute on a craft table or for serving ware when entertaining. 

These "buckets" were one of my favorites:
Magnolia Homes decor Value City

I almost got one to use as a planter but didn't know where to put it. I may have to go back for one, they are so cute and unique! These were priced at $60, which I didn't think was too bad considering how big they are. 

More metal, this one with the logo: 
Magnolia Farms accessories

Those corbels are in their line too. They are labeled as bookends and were $40 for the set. 

One thing I'm not sure I love is that most of the items have a little Magnolia tag on them. They are well done and work with the pieces nicely (you barely notice it on some), but a bunch of them have it. It's not a big deal but I don't love having a brand name on decor. I guess Magnolia is a cuter name than most though. ;) 

I liked this hanging metal basket paired with the wood: 
Fixer Upper decor at Value City

I ended up getting two of these hanging vases plaques (for $30 each): 
Fixer Upper accessories

They don't work where I was planning to add them so I hope I can find a spot! 

OK, now for some of the furniture! I LOVED this table!:
Magnolia Farms farmhouse table

It has drawers! The farmhouse chairs come in a natural tone and black. 

This cabinet had some great detail: 
Fixer Upper style furniture Value City

The doors slide and I love the hardware on the drawers. So much storage!

I was surprised by the dark green sofa and chairs: 
Green sofa Magnolia Homes

I didn't sit on this one but the fabric was crazy soft. 

These little end tables were really cute and were priced at $130: 
Fixer Upper furniture Value City

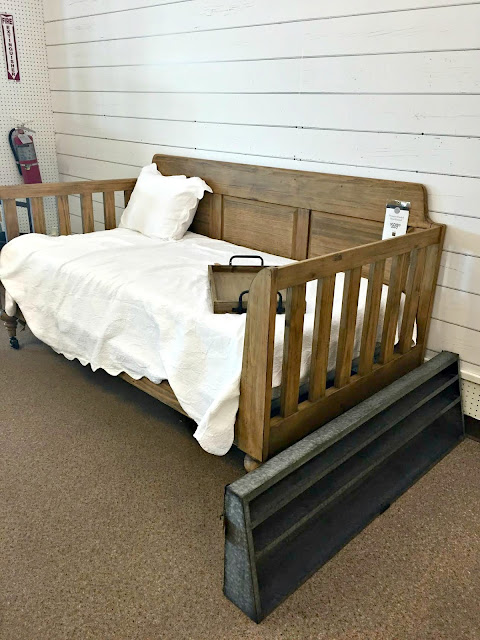
This daybed was lovely!:
Magnolia Farms daybed Value City

How pretty would that be on a porch? :) 

I loved this round table and chairs too: 

Magnolia Homes round table and chairs

This living room set was my favorite! The chairs and sofa had metal piping accents underneath (it's hard to see here). And it was actually quite comfortable! The chairs and sofa were nice and deep too: 
Magnolia sofa and chairs Value City

I didn't get a picture of the matching sofa but it's beautiful and pretty big. The sofa sells for $1100. 

There you go -- fun, right? My friend and I joked that this may have saved us a trip to Waco to shop. ;) I was excited by what they had and was impressed with what I could see of the quality. You can see all of their furniture and decor on their website if you want to check out more. Have you checked out any of these yet? 


And if you love the shiplap look on Fixer Upper, check out my DIY version that costs a lot less!: 


Hello there and happy Friday! This week seemed to go forever! I'm thankful for a pretty low key weekend with a equal parts DIY and relaxing. :)

Today I have a fantastic blogger to share with you -- it's been awhile since I've shared one with you. Deb's home at Seeking Lavender Lane has always caught my eye. She incorporates a lot of DIY in her designs, which I love. Her home is soothing and pretty but also has moments of great contrast.

Enjoy this tour and be sure to check her out this weekend and say hello!

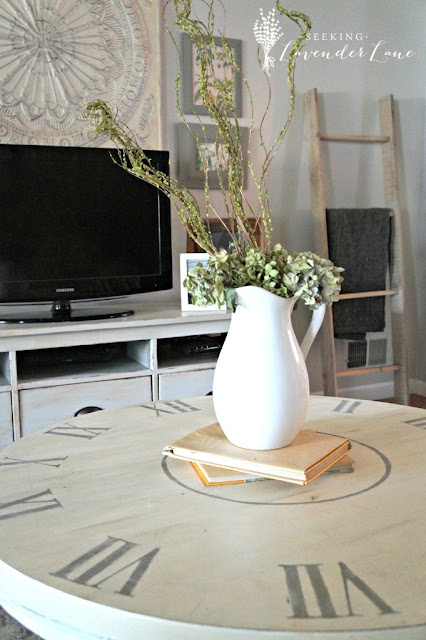
I absolutely love how she painted the coffee table in her living room -- what a great idea to update an older piece!:
DIY clock coffee table

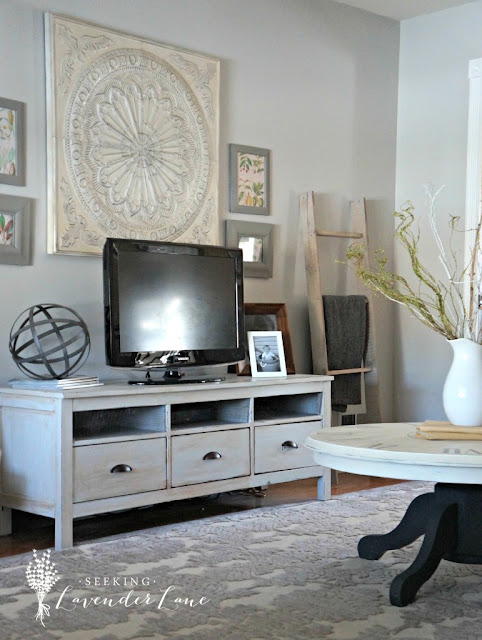
I just love it! I also love the black base at the bottom and the rest of this living room is beautiful as well: 
decorating around a TV

Deb's kitchen is a bright and pretty space thanks to some updates they've made over the years: 
farmhouse kitchen ideas

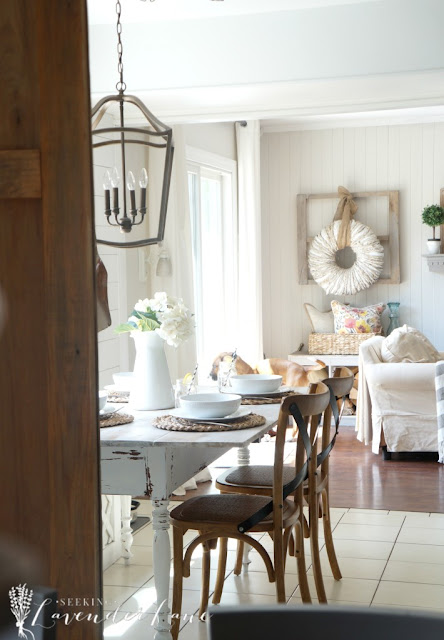
 She made a few more changes earlier this year and I was swooning over that light and those chairs!:
farmhouse kitchen table

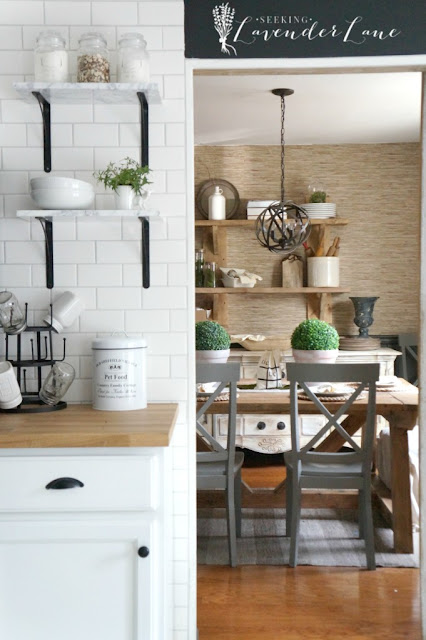
I think this shot from her kitchen into her dining room is my favorite in her home though: 
grasscloth wallpaper dining room

You have to see the black accent wall in the kitchen -- it's dramatic and classic at the same time. 

Deb does a beautiful job of mixing items and accessorizing. Her family room is so well done and looks like such a cozy space: 
decorating with grays and white

I love that lamp! Isn't her home so comfy and pretty? 

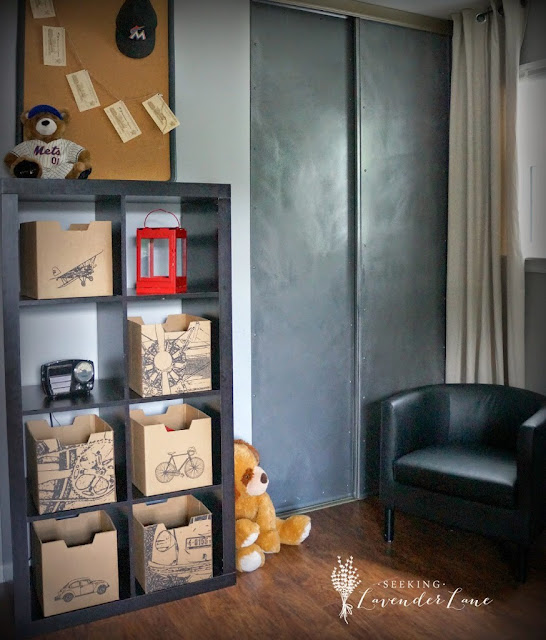
She can change things up and it looks just as good -- like the industrial look in her son's room:
DIY industrial metal doors

Those faux steel doors are another DIY project, brilliant! 

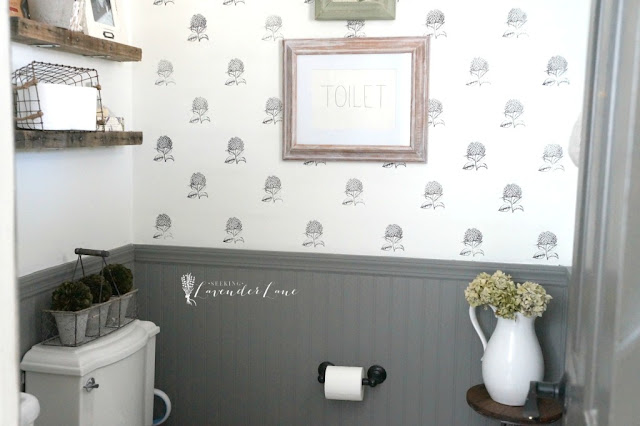
You know I adore her use of gray and white in her powder room update
stamps on wall instead of wallpaper

By the way, that's not wallpaper -- it's a stamp! Love it!

I hope you enjoyed seeing Deb's home! I've just scratched the surface, there's so much more to see at her site. I love sharing talented bloggers with you! I am always in awe at the talent out there. 

Have a fantastic weekend and stay safe! 


Love peeping in on homes? I have a bunch of beautiful home tours over on my Projects page. Kathleen's home is one of my favorites: 

And Nicole's kitchen (and whole home) is so dreamy: 

SaveSaveSaveSave

Hey there! I'm still in beast mode as I work on finishing up the loft/craft room/office makeover. I'm determined to get it done by the end of the month and I think I'll make it! 

I got a TON done in the past few days. I'm excited to share the little DIY project I added above the cabinets: 
shiplap walls

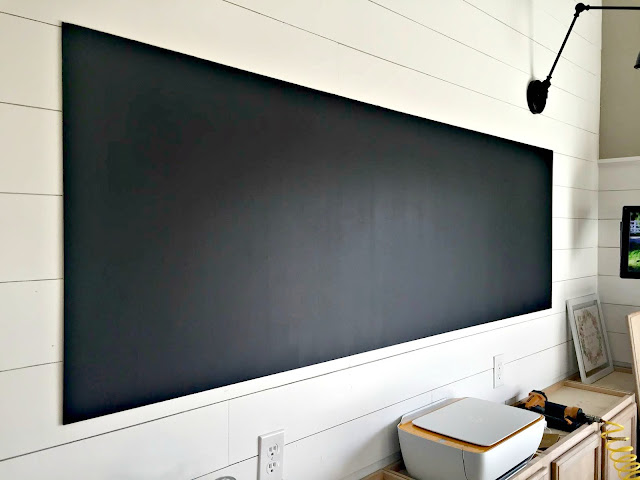
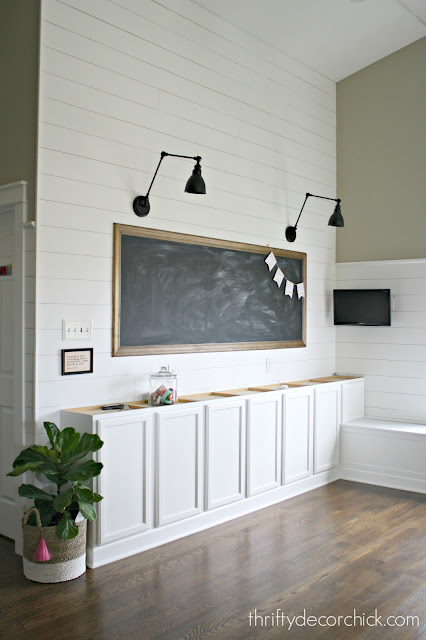
I've always known what I wanted to put up there. A massive chalkboard. I knew it would be a fun place for organization but also would look great against the white background. 

This was a fairly inexpensive project for the size and I'm loving how it turned out. I joined up with Minwax as I do occasionally to share how I use their stains on this project as well. 

The first thing you'll need to do is get a SMOOTH board. This is important, obviously, as you'll be writing on it. :) You can spend $50 on some nice smooth stuff but I didn't want to spend that much, so I kept looking. You know I love the luan for the DIY shiplap look I've added in here, but it's not smooth enough. 

I ended up finding a higher grade luan/plywood that was $19 for the sheet. I had it cut down to the size I needed -- this is how the smooth side looks: 
large DIY chalkboard

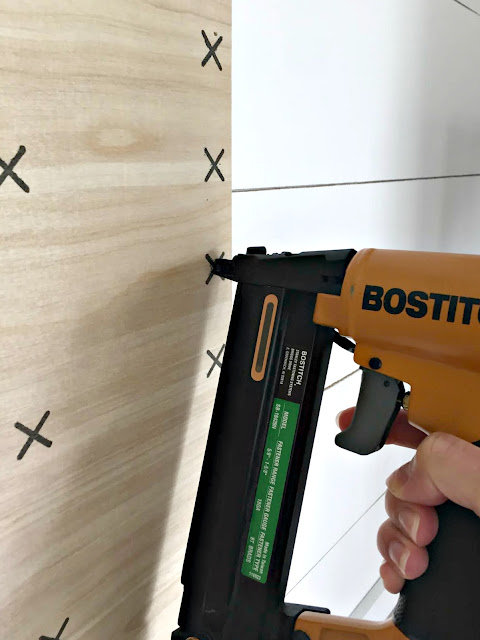
We held it up, made sure it was level and then nailed it in: 
plywood chalkboard

You can paint before hanging or after, I prefer standing up to do it. I taped off the edges (although I was adding trim so it wasn't really necessary) and did two coats of a dark paint as a primer (I don't have any tinted primer right now) and then two coats of the chalkboard paint: 
DIY chalkboard

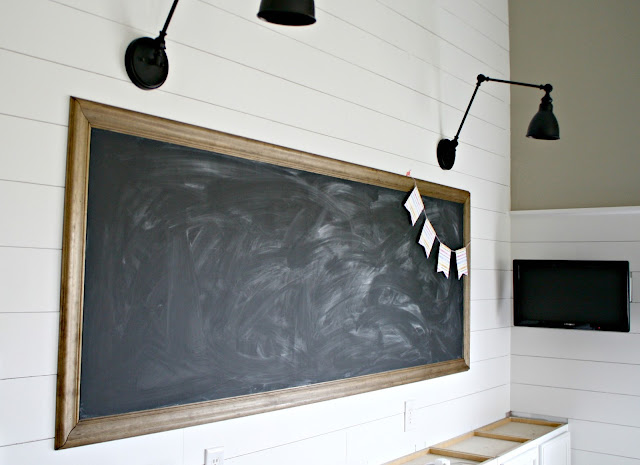
I loved it right away! It was the perfect contrast against the planked walls and I love it with the sconces!

Here's a tip that some don't realize -- you really need to "season" a chalkboard before using it. This will make it easier to erase the chalk down the road. I haven't always done this and the chalk still wipes away with a wet rag, but if you are using a real eraser especially, I always suggest doing this. 

You just take some chalk on it's side and rub it over the whole board until it's covered:
seasoning a chalkboard

Then wipe it away -- if you want a real cloudy board you can use an eraser or dry rag. I use a wet one because I like how it looks after the fact. :) 

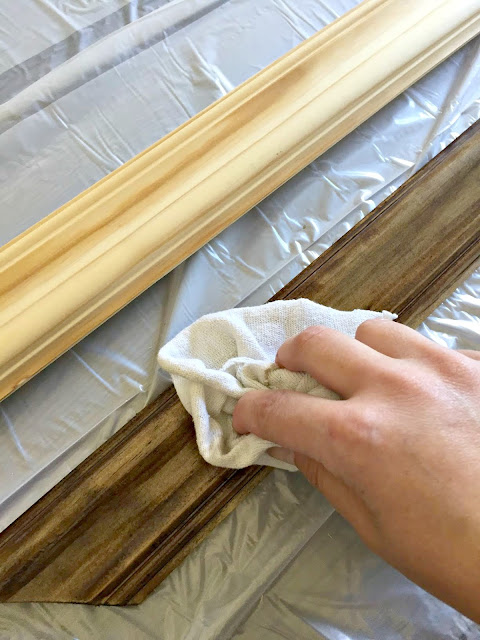
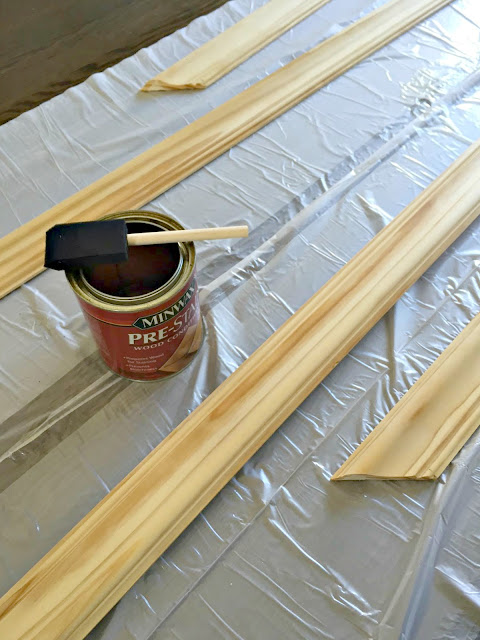
Then it was time to stain my trim. I found pretty chair rail to use -- before I started staining I made sure to pre-stain with the Minwax conditioner
pre stain conditioner for wood

I can't express how much better your staining projects will turn out if you take the extra few minutes to use this. I used to be too impatient every time and some wood would turn out crazy blotchy. You just wipe it on with a foam brush and then let it dry. You can stain almost immediately. 

I went with my favorite Minwax stain -- dark walnut. It's a classic, darker stain that is really brown -- no red tones to it at all. I use these foam brushes (at a great price!) to apply all my stains:  
staining with Minwax dark walnut

Be sure when staining to not let any part of it dry -- so don't stop one part and then start up again later. You need to keep what is called a "wet edge" while staining. With smaller projects like this it's not hard to finish up, but if you are tackling something large, be sure you have time to focus on it. 

Don't worry if the piece looks a little iffy while you stain. See how uneven it looked while I was staining? Let it sit for a bit (I usually only let it sit for a minute or two, but the longer you wait the deeper the stain) and then wipe with a clean towel: 
how to stain wood trim

The more you wipe the more it will even out. If it's still not right you can add more stain and do it all again. 

I absolutely LOVE how it turned out. You know how much I love contrast (if you don't know, I DO) and it looks lovely. The stained trim just makes the whole thing:

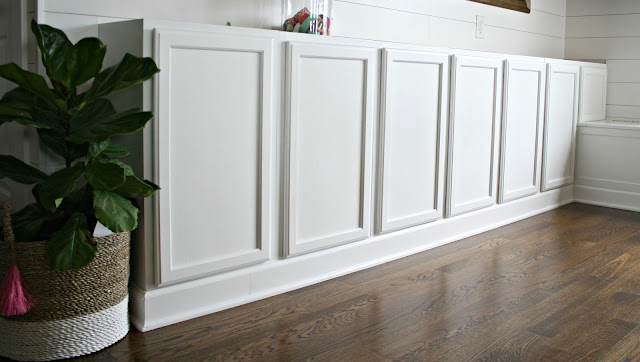
I was on a roll and got the cabinets painted too. You can see my full tutorial on how to do that here. (Check out my painted kitchen cabinets I did myself!) They turned out great, I just have to do a few touch ups:
how to paint kitchen cabinets

I love love love the sconces with the chalkboard: 
large DIY chalkboard

I have a few ideas in mind for this -- one is a permanent calendar I can write on each month. I also plan to dress it up with photos and other fun stuff to bring in more color: 
Chalkboard on white wall

The whole space is very white right now (which I'm actually quite liking) BUT there will be plenty of color coming in with art, pillows and accessories. I picked up some bright knobs for the cabinets last night but I have to see them on before I decide on those. 

These were two of the last big projects, whoot!! Some minor stuff is left to do and the desk and countertops, which a big element in here and also the most expensive. I'm just so happy that this room is so close to done and that I love it as much as I hoped I would: 
How to make a large DIY chalkboard

I'm loving the nod to a school house look the chalkboard creates -- this room will be used for homework and projects, so it is fitting. :) 

Just for kicks let's look at how far this room has come: 

I'm dying to decorate this space but will hold off till the counters and desk are in. I hope to get those later this week or early next. It's so close!! This is going to be such a fun room. :) 

Here's an image to pin for later if you want to remember this project!:


This post is sponsored by Minwax but all opinions and experiences are my own. I only work with brands I know and trust. See my policy and disclosure information here

Some affiliate links included for your convenience!


SaveSaveSaveSave

Hello there my friends! I'm joining in with a few incredibly talented blog friends today to share some fall inspiration with you. I KNOW…it's still August. So if you are still enjoying a summer you may want to look away. But we've been back to school for a couple weeks here, our temps have dropped considerably and I AM READY. ;) 

I cannot wait for even cooler nights, apple picking, sweaters and boots, pumpkin patches and all the yummy fall scents and food. Fall is my absolute favorite time of year and I love looking at inspiration to get me ready. 

I'm sharing some of my favorite decor and fun projects here today! At the end of this post you'll find the links to the rest of the bloggers on the tour (you will not want to miss them!). 

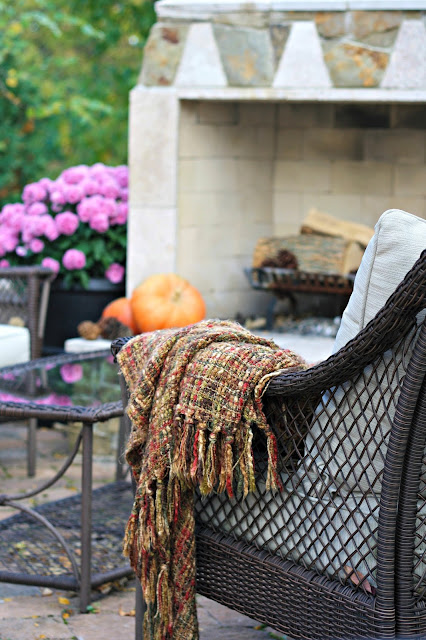
Last year was my favorite for our back patio
fall mums and outdoor seating

Aren't those mums gorgeous? They were so large and fluffy -- I'll have my eyes out for those again this year. 

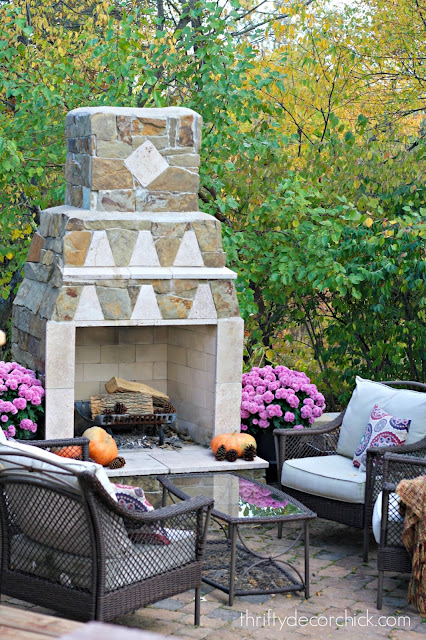
The patio will be even better with the beautiful outdoor lights we added this year! I can just smell the fire and taste the s'mores right now!:
outdoor stone fireplace

Our front porch is super tiny but I love decoration it for the season -- I never go without the corn stalks! I usually make a fall wreath and this DIY pumpkin wreath is one of my favorites: 
decorating a small porch

It reminds me so much of a similar Pottery Barn version but when you grab everything on sale the price is considerably cheaper. (And when I say considerably I mean like $70 cheaper!) It's seriously as easy as sticking each part into the wreath form. 

Moving inside, a couple years ago I shared a pretty and easy fall tablescape
easy and inexpensive fall tablescape ideas

And then last year I painted the table and went simpler with the decorations: 

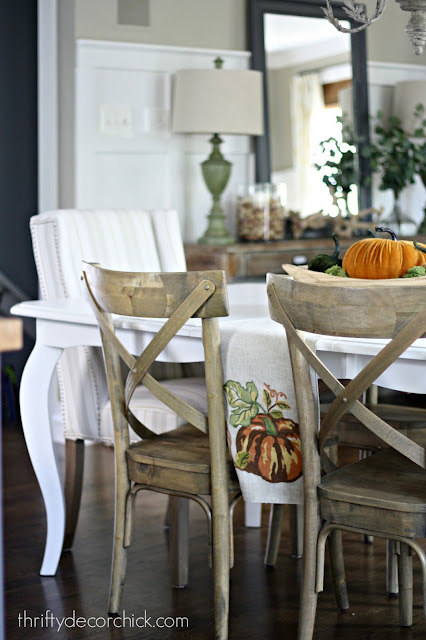
how to paint a kitchen table

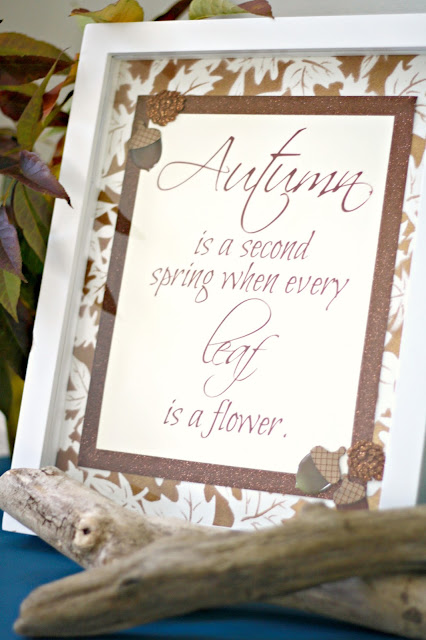
I LOVE fall printables and try to incorporate them into our decor every year. (You can see my picks from the past couple of years here and here.) I made one of my own a few years ago and you can download it for your home: 
Autumn is a second spring when every leaf is a flower

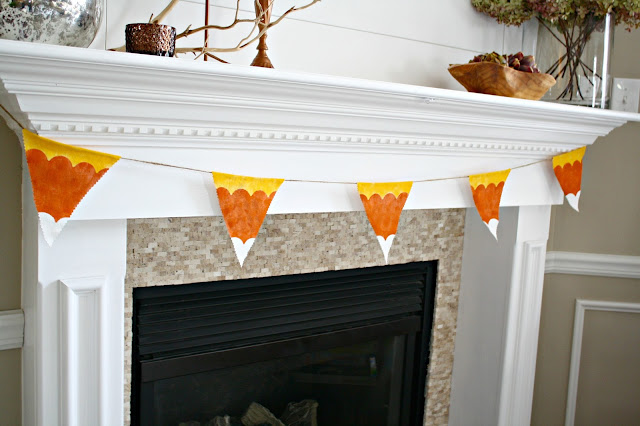
Other than Christmas fall is my favorite time to craft. I love figuring out ways to add warm and whimsical touches by making my own pieces. My candy corn bunting is still a favorite of mine years later:
candy corn bunting craft

You can see more of that fall mantel here, although that room looks completely different now. I love decorating our newer large mantel for the seasons! 

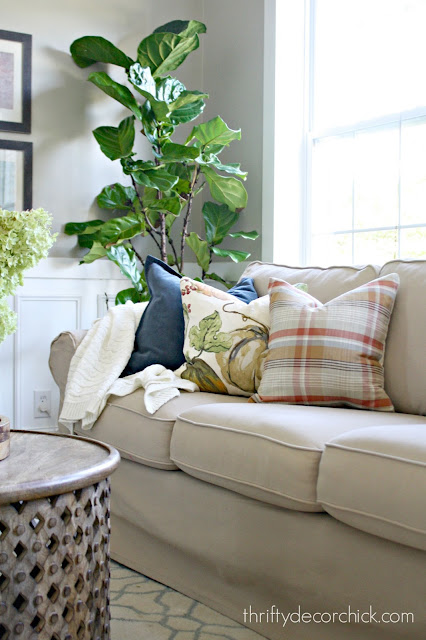
If you've been around these parts for awhile you know my absolute FAVORITE way to add seasonal touches is with pillows. You can see how I do that on the cheap with my table linen pillows
seasonal pillows out of table linens

I just adore these! I was so in love with the Pottery Barn pillows I found in the catalog but didn't want to spend that much. Instead I made my own for a fraction of the price: 
easy DIY fall pillows

I do this often and they always turn out so well! I can't wait to put these out again in the next couple of weeks. :) 

Those are just a few of my favorite fall-inspired projects and spaces. :) I cannot wait to see what the other ladies have in store for us! Next up on the tour is Annie's beautiful home from Zevy Joy:  
white fall decor ideas

And here is the complete list so you can click through: 


Enjoy! I'll be back with an update on the loft makeover later this week!
SaveSaveSaveSave
SaveSave

Popular Posts