Hello all! I have to tell you -- I am so excited about the upcoming changes to the loft/craft room. It will be my summer project this year. I'm determined not to be a sloth this time. :)
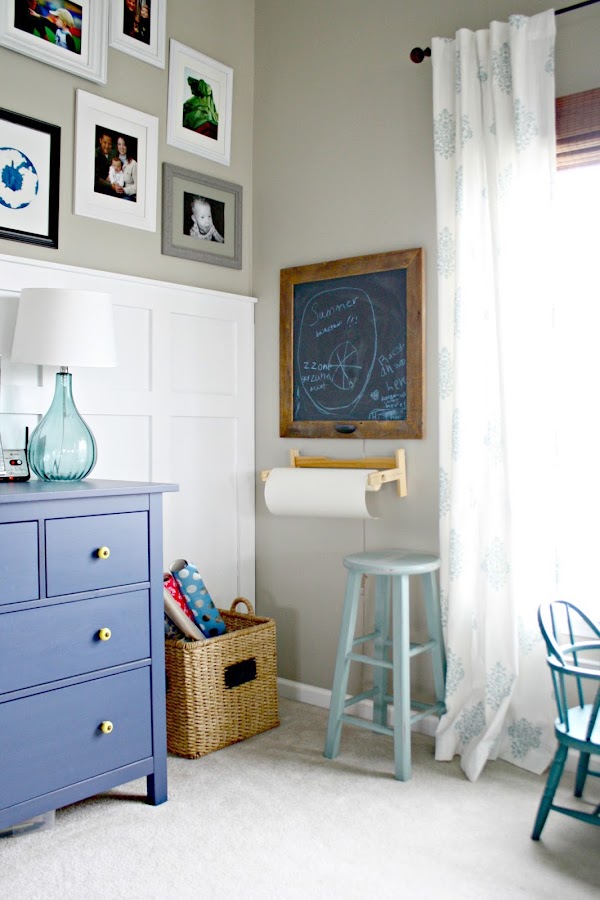
This is how it looks now:
(You can see how I made that DIY craft table here -- it was a super simple project and is fantastic storage!)
What you can't tell from this photo is that the carpet is disgusting. Seriously, it grosses me out. It's time for it to go and in a couple weeks it will be replaced with hardwood floors like we have throughout most of the house.
Before that happens I have a lot of work to do -- purge everything for one (hoping that will happen today) and then start removing all of the base and window trim in the room. I'm going to use this opportunity to upgrade our tiny baseboards in that room to something taller. While I'm at it I'll be adding my craftsman style trim to all of the doors and windows -- and I'm already planning to hire out the painting of those. Not my favorite part.
Then will come the bigger project, which is a wall of built ins and desk along one wall. I'm looking forward to having a space for us to work, do homework and craft. You can see my full plans for this craft/office/lounge space here. It will be really functional and I'm thrilled to get started. I've been looking forward to tackling this space for years!
I've got so many fun ideas running through my head on organizing all of the craft stuff. I'll have some counter space to display some of the items but I want them to look clean and pretty. I have a head start with this cute caddy I made last year:
I find the simplest projects are what work best. This is so much cuter (and functional) than stashing them in a drawer:
Years ago I transformed a bathroom caddy to one that rolls around. We keep this one in our family room now and it's so nice to be able to roll it up to the table when needed:
I've been searching the Internets for more easy, cute, affordable ways to organize craft gear and wanted to share some of them with you. Like I said, simplest is best. A tray with pretty cups works great:
I love the idea of using vintage cups for this. Or if you aren't a coffee drinker like me but love the adorable mugs everywhere (like me) you could pick some up for this instead of just for hot chocolate. ;)
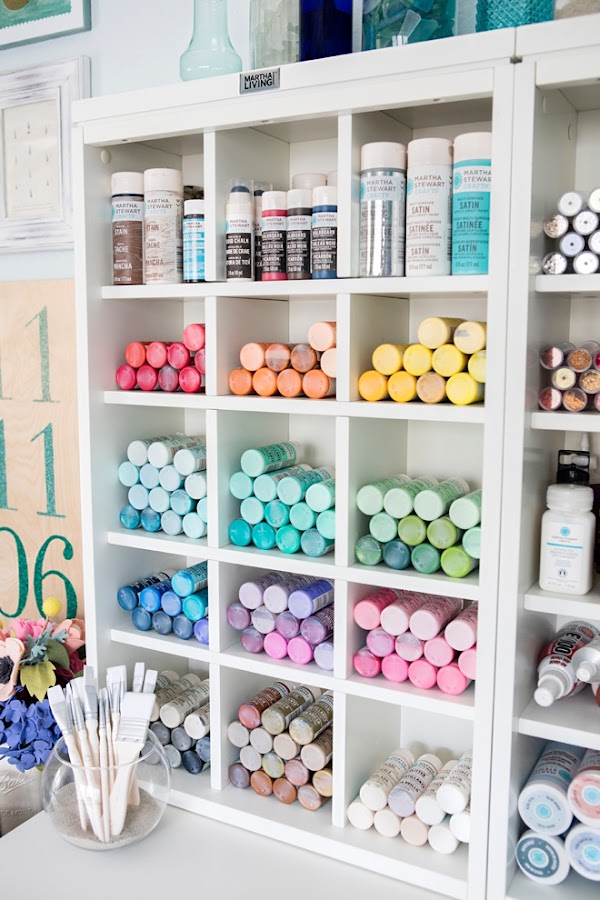
OK so this is so simple but I love it -- store the craft paints with the bottoms out so you can see the color:
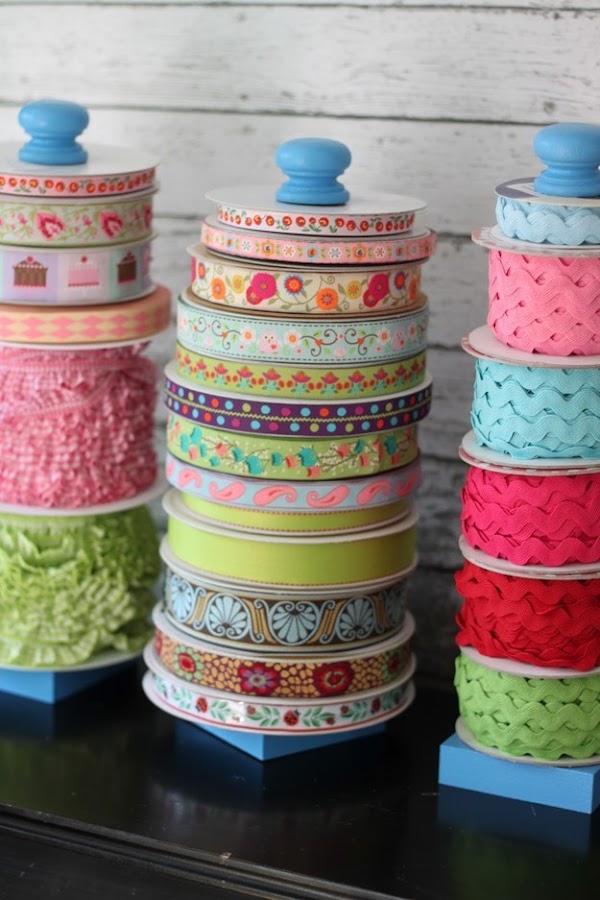
I think ribbons are one of those items that are hard to display but look so pretty when you do. This is a super simple DIY holder:
You can also use paper towel holders to store ribbons like this!
I love those little ribbons you find in the dollar section at craft stores, but they're so tiny I lose track of them easily. This is so cute!:
They look especially adorable all lined up.
I love a cute pin cushion but this idea is smart too (if you don't have little ones around):
The tiny stuff is the hardest to organize and these ideas are smart (and cheap!):
We use this ceramic egg crate in the fridge and it would be cute too if you want something more sturdy. (These are also great for organizing earrings!)
Going vertical is always smart and if you don't have little hands around this is a great idea:
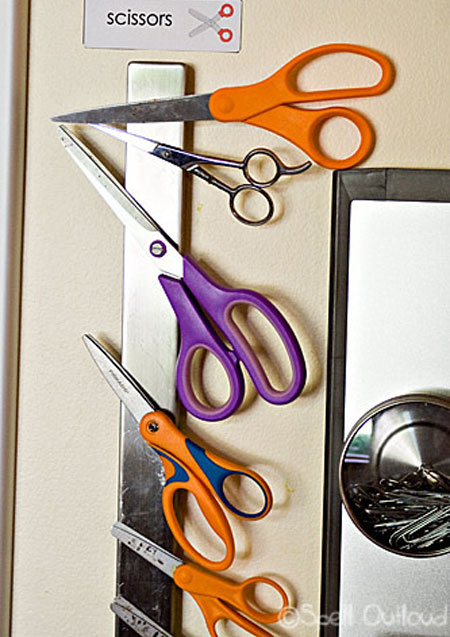
I have a few of these magnetic strips from a project gone wrong and I'm always trying to figure out how to use them. (You can see how I used one for spice storage here.)
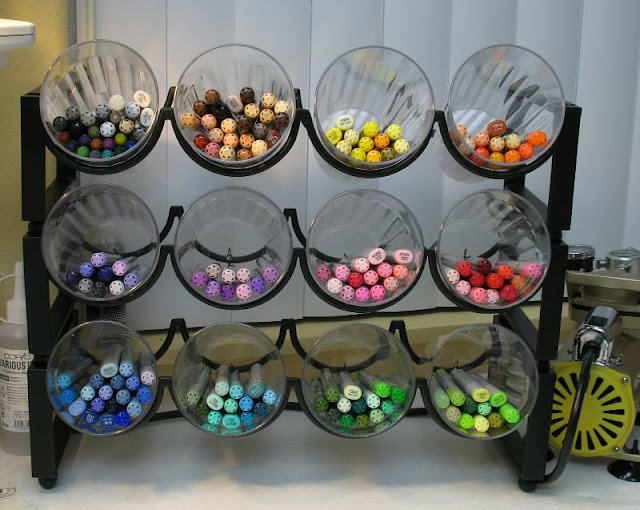
I love a good repurpose and this is great -- using a wine rack with cups for storage:
The markers sorted by color makes me happy. :)
I'm a non-scrapbooker who is obsessed with scrapbooking paper and my current method of storing them all in plastic containers is not working. This is a great idea:
I was just at IKEA last weekend too! Darn.
There are so many items for the kitchen that can be used in different ways. A fruit basket is a cute way to store stamps:
Again, simple idea but really smart -- this would allow them to air dry after using.
I could do an entire post on organizing wrapping supplies, right? Those tubes take up so much space and are kind of a pain in the butt. I keep ours in a big basket:
But it takes up quite a bit of floor space. If yours is at a premium this is a brilliant idea:
She suggest hanging it in the closet but I think sliding it under a bed or sofa would be a great idea too. (Less chance for the rolls to move around.)
People are so smart! :) I love sharing hacks like these -- especially for storing the little craft items that are hard to store. And I think displaying the supplies is a fun idea! They're so colorful and become the art in your space. If you have any fun craft organization tips or posts feel free to leave them in the comments! (Please pin these projects from the original source.)
Affiliate links may be included for your convenience!








0 komentar:
Posting Komentar