Hey there! We've had a busy week soaking up some summer activities…our time off is coming to a close soon. This week alone we visited the Indy Children's Museum, explored downtown, saw a movie and took a trip to Kings Island. Such a blast but I'm ready to relax a bit today! (If you are interested in visiting our fun city, check out this post and this one for my tips and our favorite places.)
I'm back today with a quick and easy project that I finished up in the loft last week. I'm pretty excited about it! Last time I shared this space I had this empty space above the window seat:
I've known all along exactly what I wanted to put there -- a gift wrap station. :) I'm all about form and function and I knew this would be cute and serve a purpose in this space.
I hardly spent anything on this because I used old trim from this room for the frame. You can definitely put this directly on the wall but I wanted to make a little bit more of a statement and I had the trim anyway.
I had plenty of wall space but didn't want it to go too low -- that corner is already my favorite spot on the window seat and I didn't want to worry about hitting my head. :) Turns out you can fit quite a few rolls in a small space. I ended up with 24 inches tall by about 34 wide:
Most gift wrap is 30 inches wide but Christmas wrapping is sometimes wider so that will just depend on your needs.
I nailed the trim directly on the planks and then cleaned it up -- putty for the corners and holes and a couple coats of semi gloss paint:
The next part was super easy. I picked up some dowel rods in the 3/8 size (again, any size will do, just make sure they don't bow with the weight of the paper):
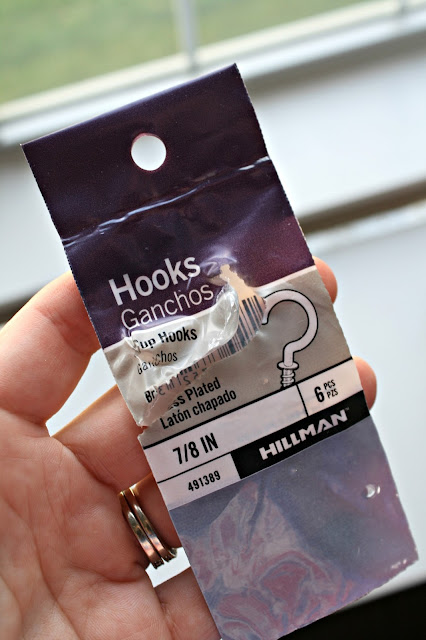
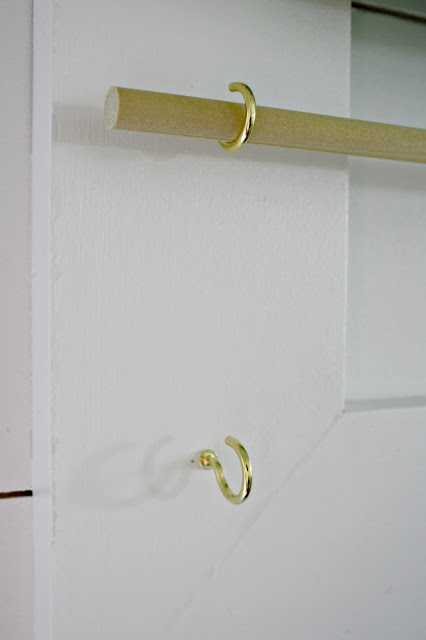
And a couple packages of gold cup hooks:
Make sure your rods will fit in the hooks! Mine were 7/8 inches so it worked perfect.
I did some trial and error to decide on the layout -- I knew I wanted six up there so I measured out every 3.5 inches. I held my measuring tape up and marked those distances down the length of the trim, making sure each one was in the middle:
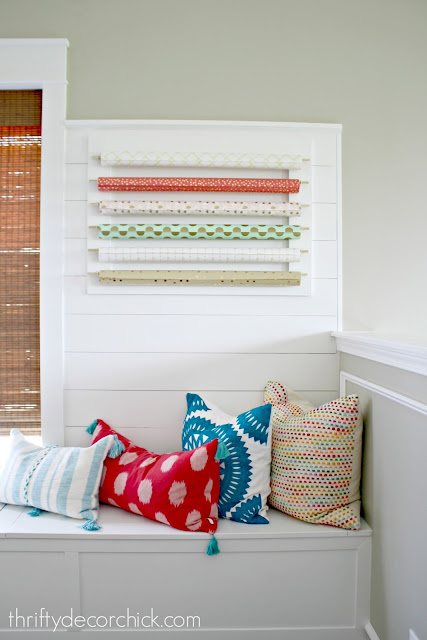
Make sure you do the exact same measurements on the other side. Then you've got yourself a super cute display that functions great as well:
OH I just love it!! So cute! Of course I got it up and decided I needed a few new rolls of paper to make it even cuter. :) I couldn't resist.
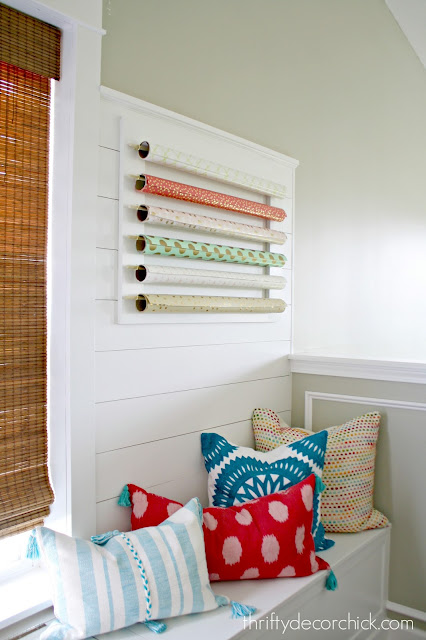
I love the pops of color against the white wall. I'm starting to love how everything kind of "sings" against white. I don't think all white would ever happen in our house but I can tell I'm going to like it in this space:
To access the paper I can either pull the wrapping out from the wall and cut it where it is, or it's easy to take them down. I will probably just take them down when I need them.
All in all this was only a $10 project since I had the trim, and as I mentioned, that's optional anyway.
Not gonna lie, I'm already thinking about how cute it will look with Christmas paper! :)
There you go -- a simple, inexpensive project that you can adjust to your needs. I absolutely love mine and am happy I was able to put that space to use.
Have a great weekend my friends! :)
Affiliate links included for your convenience!


0 komentar:
Posting Komentar