Well I'm thrilled because a project I've been itching to start for years now has finally started!! Our loft is a great big space that has always felt underutilized to me. I really hate not using rooms to their full potential (even if my way is not how they're supposed to be used).
When we knocked down a wall in our family room a few years ago I lost my office, which really hasn't been a big deal. I don't mind it (I blog from a comfy chair most days) but I would like to have a central location for all things office, crafts and wrapping. This room will be a space for all of those -- plus some.
My hope is it will be a fun work space for me when I need to "get away," for our boy to work on projects or homework, a craft area, wrapping station and we'll also have a sofa up here so we can just relax if we want. It will be a much more girly space though and I'm super excited about that!
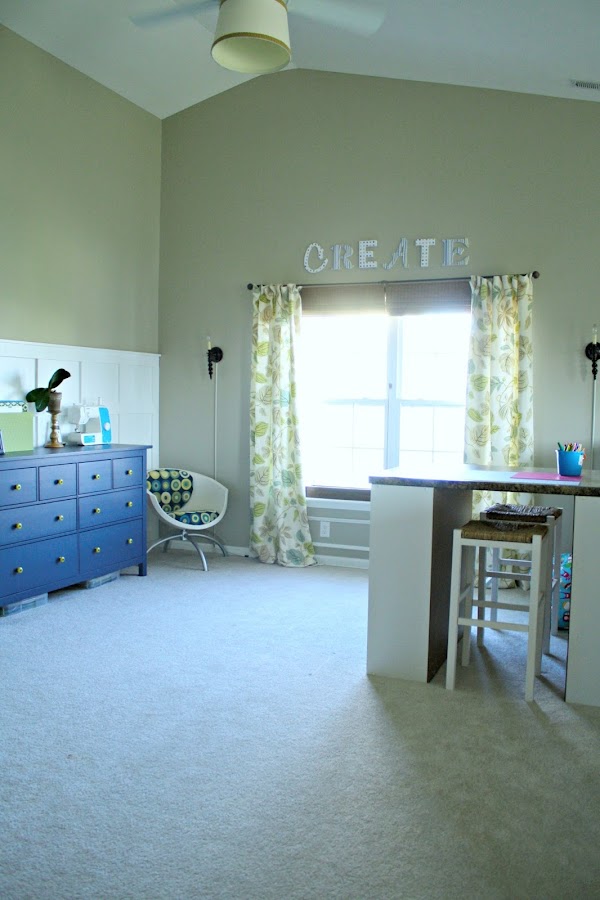
Here's how this view looked about a year ago:
This room is the brightest in our home but also the most difficult to photograph. (Can't wait to try this camera attachment in here throughout this process!)
Later I added a gallery wall and took down the lights:
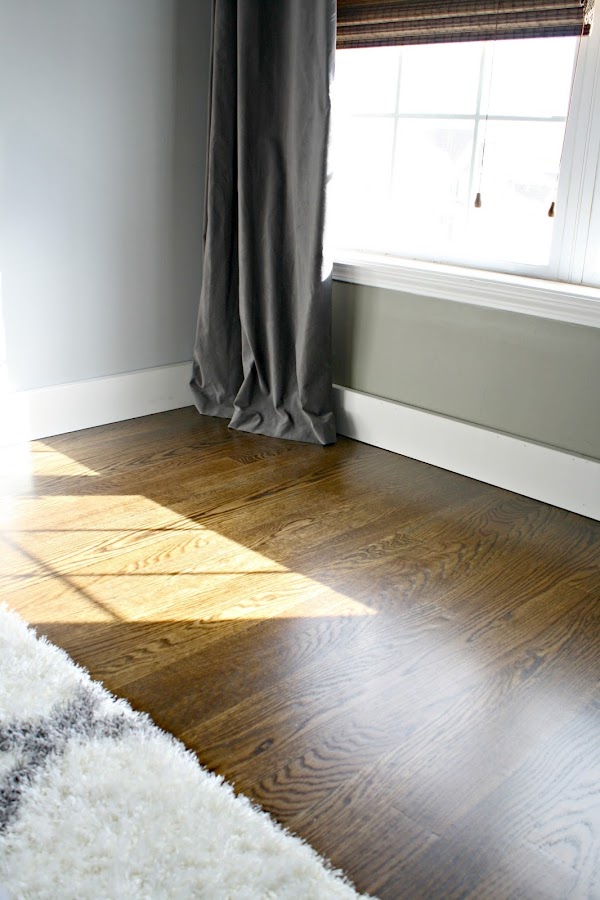
It was a cute space but I never felt like I was using all of the room well. I've had a plan in place for years now but we've had to hold off until we could get new floors put down in here. (The carpet is totally disgusting after 12 years.) We've been adding finished on site hardwoods throughout the house over the years and this is most likely the last room we'll have them installed. We waited because on site hardwoods are not cheap -- but I LOVE them so it will be worth the wait.
Before they could get started (today!) I had to do a few things. I started by emptying out the room and nearly everything was given away or sold. We really didn't have much furniture in here anyway but I'm keeping very little because so much will be built in. I was actually going to keep everything until I was ready to install the cabinets but I figured having the piles of stuff in the guest room would spur me on to get things moving faster. That usually works for me. ;)
Next up I pulled out all of the baseboards. In the past when we've had the floors put in I've left them, but I always regret not removing them first. They aren't tall to begin with:
They are puny and even more so when the flooring goes in. It's taller than the carpet and they look even smaller when the floors are done. Plus trying to remove these after the flooring is installed is a total pain in the butt. They are hard to take off anyway but with the flooring it's nearly impossible to do without damaging the hardwoods.
Because ours are so hard to remove and I've finally figured out the best way to do it, I'm sharing this quick tutorial here. If you need to remove baseboards where you already have carpet this will work well for you. If you have hard floors you'll need to put something down to protect your floors while working.
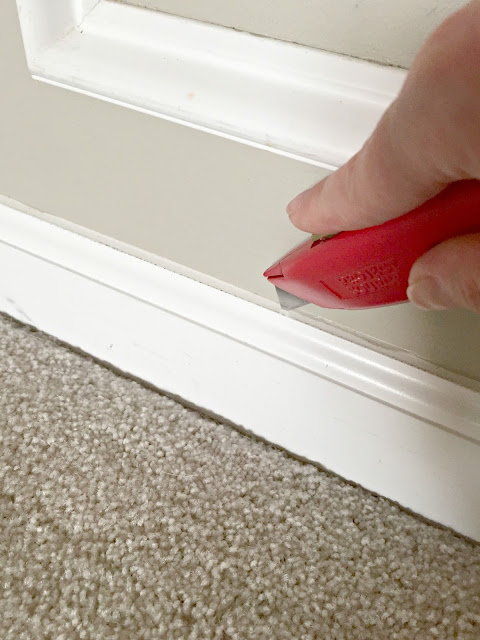
Step 1: Use a razor to score your caulk along the top of the baseboards. I don't do huge sections at a time and I'll share why in a moment:
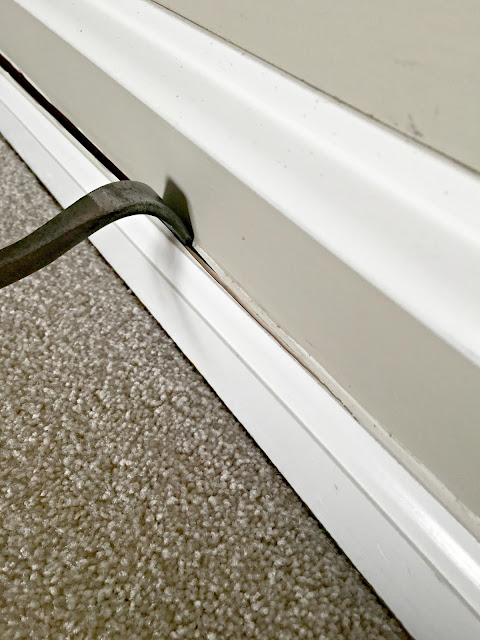
Step 2: Grab your crow bar and hammer and start tapping your bar between the wall and the drywall:
Sometimes it takes a tap, sometimes a pound. :) So you see how I missed some of the caulk there? That's why I don't try to work all the way down the wall, because as you start to pull the base away from the wall just the slightest bit, it will make it much easier to score and cut that clean through. Don't pull too much because you'll start pulling the drywall away from the wall. If you're replacing the base with something taller then that won't matter much.
Rock the baseboards away from the wall just a bit, but not enough to cause damage to the drywall. Move down the wall a little bit, but not too far just yet:
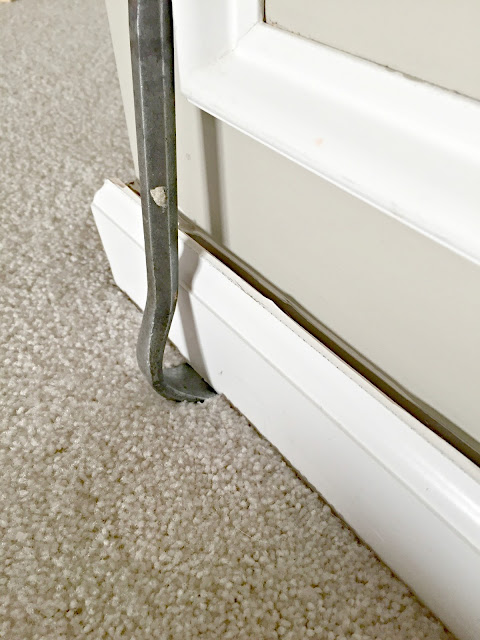
Step 3: Now this the magical step that I didn't do for years and that's why it was so dang hard to get these out. Doing this will help tremendously if you have baseboards that are hard to remove like ours. Take the crow bar and leverage it underneath the base:
Lift up -- it may take some muscle. Be careful here and make sure your crowbar is well under the base so it doesn't come loose and flying back at you -- you'll have to push down pretty hard.
This is an important step because it releases all the nails from the bottom that are too hard to get to from the top:
I find most of the nails are down low and it's hard to get down there without messing up the walls. Once I figured out how to do it this way the process became MUCH much easier. I don't have any damage to our walls and before it was such a struggle to get them removed.
You can also put a thin piece of wood above the baseboards and rock your crowbar against the wood instead of your drywall, but with this method I don't even have to worry about that. It works every time without drywall damage.
I got the whole room done in just over an hour -- this isn't even all of it:
This room continues over near the book nook so there was a ton to remove -- this way of taking it off the wall works so well I whipped through it.
As you can see I also remove the board and batten from the accent wall -- that will get a new treatment. I removed the nails from the boards to keep them for the new door trim that will go in soon. I also took down the gallery wall and filled the holes. I will do another photo wall but something simpler.
See those square on the wall? Those right there are why I now tell you to NEVER use glue to put molding up on the walls:
Unless you are sure you want it there for eternity, don't do it. Nails are enough. I haven't decided if I'm continuing the wall treatment around to that half wall, but they come down I'll be covering the damage anyway.
By the way, do you see that lovely pink wall color that was under the base? Yeah. That was a brilliant decision I made when we built the house. In my defense, it didn't look super pink till after we repainted.
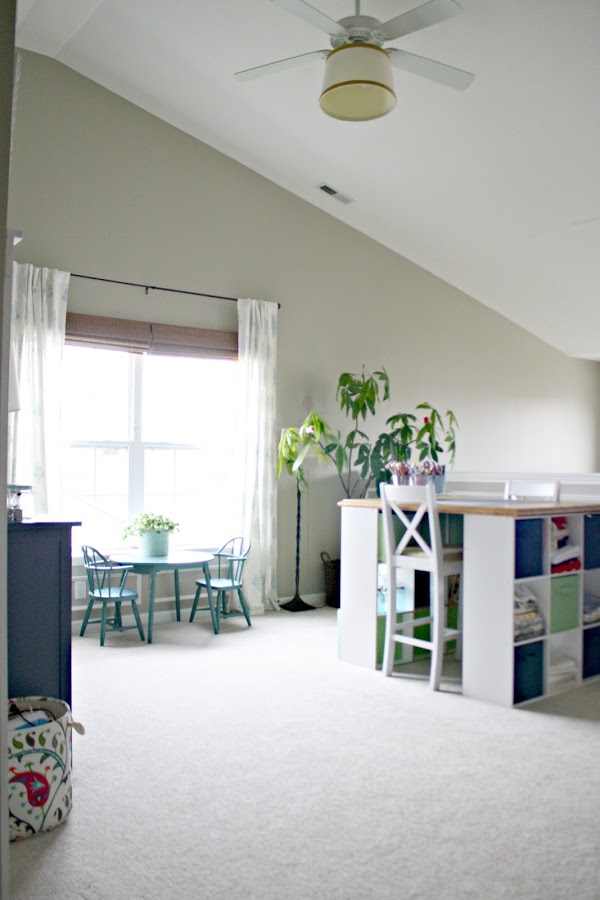
This is that same view as it looked earlier this week:
The craft table is disassembled and I plan to use that butcher block top on the built ins. The little table set it staying. :)
You can see my plans for this room here -- I'm so stinking excited! I have cut down on the amount of built ins I'm adding but I think this room may be even more work than our kitchen if you can believe it. I have five doorways to trim out -- FIVE. Just the doors, base and window trim will take a week. The wall treatment will take at least one more, if not two. That doesn't even include the cabinets and window seat builds. It's going to be a labor intensive space but I have a vision and I'm really excited about it.
The floors are going in as I type so I won't be able to do anything else in here till this weekend. I'll probably tackle the door trim then because that will need to be done before the wall treatment. Next week I have someone coming to move and add outlets and I hope to add electrical for sconces over the work space.
I'm determined to get this room finished before the fall. Usually I sloth my way through the summer but not this year! I want a stress-free holiday season so I want this done before school starts in August. Wish me luck!
Here are some projects from this space you may enjoy!
Making baseboards taller without removing the old ones:









0 komentar:
Posting Komentar