It's done! I've officially Konmari'd the crap out of our house. This is a very, very good day and a long time coming -- I'm so happy to be done! 

It took NINE MONTHS. I did finish a kitchen renovation in that time, but still, nine months. I started reading the book The Life-Changing Magic of Tidying Up last August:  
The Life-Changing Magic of Tidying Up

I talked about how it started to change my mindset here -- this book has totally changed my life. I thought I was good at letting go of things, but after reading this I realized I really wasn't good at all. 

I still had this inexplicable thing holding me back from truly getting rid of all the crap. My mindset before was...I bought it to redo it, I bought it on sale, I spent a lot of money on it, someone gave it to me, someday when I finish ____ this item will be good there, it needs to be fixed and then we can use it, someday this might be back in style, I made this myself, if I can find the cord that charges it I'll be able to use it, it may fit again someday, I haven't read it yet (but had it for years)…on and on and on. 

When you approach decluttering this way you'll hit the surface and that's it. It will still make you feel good, don't get me wrong. But the stuff will come back

This book freed me. I don't say that lightly. Now the only things I ask myself are but do we LOVE it and do we USE it. That's it. Nothing else. And I don't ask myself what I need to get rid of, but instead, what do I want to keep? That is HUGE for me and one of the parts that really stuck out to me. I've let go of the guilt of getting rid of something I spent money on -- because how I am honoring that money by having it sit on a shelf forever? Passing it on to someone who will love it actually makes me so happy now. I've let go of that guilt completely. 

I still understand the value of things of course -- probably more than before. I buy a lot less than I used to. I don't buy something unless I am head over heels in love with it and know exactly what I will do with it or where it will go. I used to buy things and they would sometimes sit for a very long time in my trunk or in a pile or on a shelf and I've realized if I really, really loved those things I would have made a place for them immediately. 

The SUV was filled so many times I lost track: 
The Konmari method

Some items were donated, some went to consignment (I've already made $50 in less than a week), some went to my sister, some went to a local shelter, some went to their homes (Nerf guns), some were returned (hundreds of dollars back). Some I sold on Facebook to friends, some I threw away (not much). 

Bottom line -- it is all OUT OF MY HOUSE. Every trip with a carload full lightened our home tremendously. I couldn't get things out of our house fast enough. 

My recommendation if you want to read this book is to start when you know you'll have time. It will make you want to tear through your home. And if you're like me you'll laugh when she says it will take six months -- "Haha! I'm no rookie! Two weeks max!" And nine months later you'll be like, dang man, that took forever

Funny thing is I'm still not done with the book! The end focuses more on how to organize what you have left and I'll show you how I'm organizing things later. My focus has been on purging. I feel like I'm pretty good at the organizing thing already but I'm interested to hear what she has to say. 

The biggest tip I've taken away from Marie Kondo's book is to gather all like items in one spot. Sometimes this is a major pain and labor intensive, and I didn't always do that. But most of the time I did and it works. The reason? Because you see the sheer number of similar items you have and you realize how ridiculous it is that you have 329 markers: 
Tips for purging items

This is the part I find quite relaxing and cathartic. I sorted through them, got rid of half and only kept those that worked perfectly. 

I did the same with pens and pencils: 
Tips for purging using Konmari method
Peanut doesn't think this is fun like me. :)

We had a stupid amount of pens and pencils. If a pencil was missing an eraser it was gone. Before I would have kept it because I'd think -- I can go buy an eraser to put on the end and then use it! But that little thing was never high on the priority list so the unusable pencil would continue to sit there. And then I'd finally buy a package of erasers and then I'm bringing more stuff into my house when I already have 50 perfectly good pencils to use! That's how my mind used to work.

And who needs this many candles?:
Purging items Konmari

You know what's funny? I only burn maybe two candles in our house. I don't burn them often because I worry about our cats knocking into them. So why did I have so many?? I kept the ones I LOVED, which was maybe a third of them. I don't need to buy another candle for about ten years. 

You know how when you're not organized you go out and buy more of something that you already have?: 
Sorting items using the Konmari method

I wonder how much we spent on extension cords over the years? Gah. This is the stuff that makes me kick myself. I kept the cords for the Christmas trees, two surge protectors, one long extension cord and one short one. That's it. 

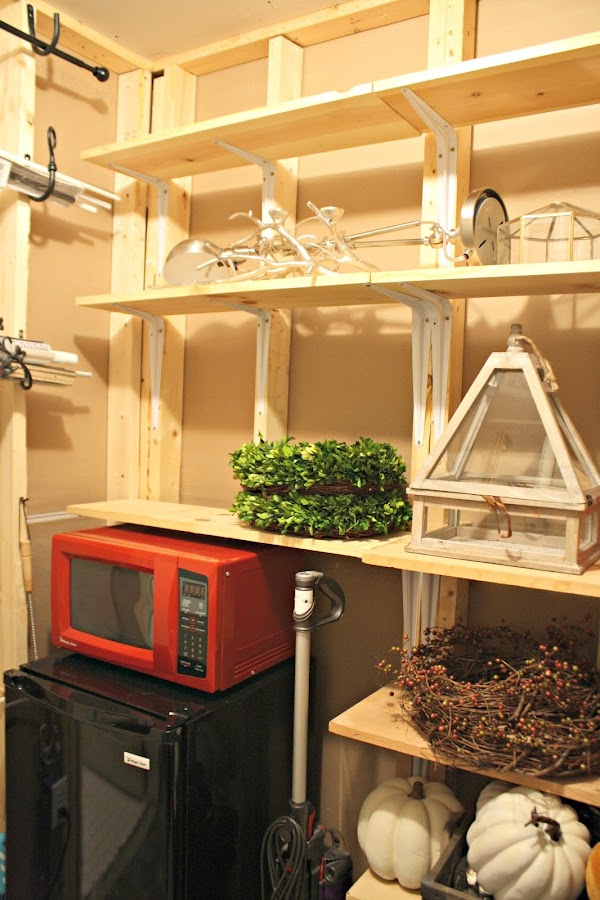
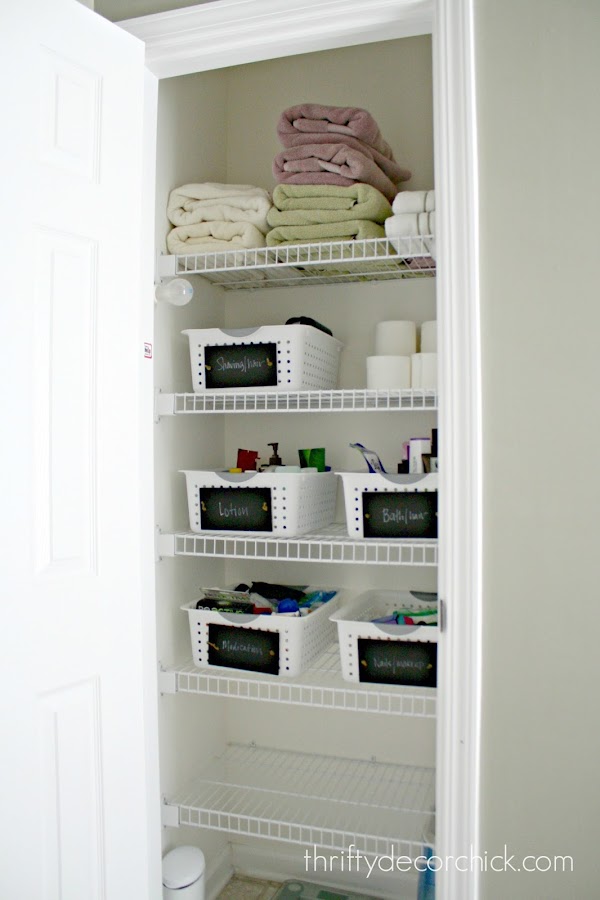
After all was said and done we had empty shelves: 
Tips for an organized linen closet

Konmari method for decluttering

Purging with Konmari method

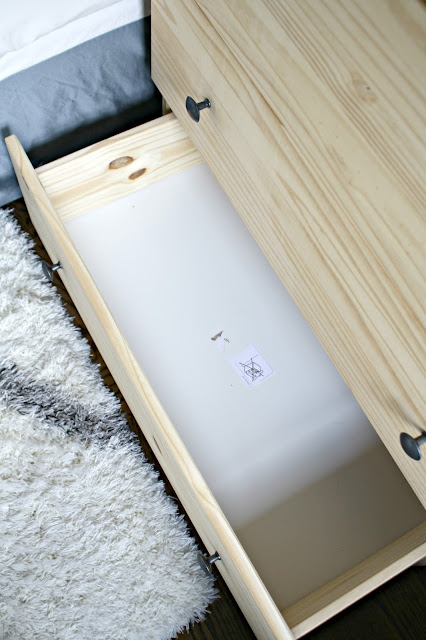
And soooo many empty drawers:
Konmari purge after

IKEA nightstand storage

And I'm not filling them. Having empty shelves and drawers is like letting the house breathe -- it feels good. NOW maybe I can finally paint that nightstand. ;) 

YES, there are some kooky ideas in this book -- pick and choose what you want to use. I still won't fold our socks and line them up perfectly in our drawers...but I've heard from many who love it after reading her method. Take what you want to use and ignore the rest. You'll still get something out of this book. I really recommend you read this post where I talk more in depth about my approach as I started incorporating the method. 

Here's the thing. I don't ever plan on doing this again. Ever ever ever. I don't want to ever take weeks or months to purge the house again. As much as I love the feeling, I'm done. Obviously I'll have to keep up with things but it will be constant and not nearly the amount of work this was. So far so good -- I've been so deliberate with what I've brought into the house over the last nine months I don't think this will be difficult. I'll let you know how it goes! 

One thing I know for sure…our house has never been easier to keep clean. In 12 years it's never been like this. It's been a slow change over this process but every week I noticed it more and more. Our kitchen island used to be covered with stuff every single day. Or the kitchen table. Or the nightstands. And I would clear them off and do it all over again. It still happens occasionally but it's rare -- like this week for example. It was the last week of school so the number of items coming home in the backpack were insane. The kitchen table was covered for a couple days but because of how I approach STUFF now it doesn't stress me out as much and it was much easier to clean up. 

I think that is the very best part. I've NEVER enjoyed our house more than I have lately. Having only things we love and use makes life simpler and sweeter. Have you read this book and what did you think of the process? 

Here's an image to pin if you'd like to save this post for later: 
How to use the Konmari method to declutter your home

Check out how I've cut down on the mail and paper coming into our home! This has helped tremendously:
Tips for cutting down paper coming into the house

You can see all of my organization projects and tips here


Affiliate links included for your convenience!

Well I'm thrilled because a project I've been itching to start for years now has finally started!! Our loft is a great big space that has always felt underutilized to me. I really hate not using rooms to their full potential (even if my way is not how they're supposed to be used). 

When we knocked down a wall in our family room a few years ago I lost my office, which really hasn't been a big deal. I don't mind it (I blog from a comfy chair most days) but I would like to have a central location for all things office, crafts and wrapping. This room will be a space for all of those -- plus some. 

My hope is it will be a fun work space for me when I need to "get away," for our boy to work on projects or homework, a craft area, wrapping station and we'll also have a sofa up here so we can just relax if we want. It will be a much more girly space though and I'm super excited about that! 

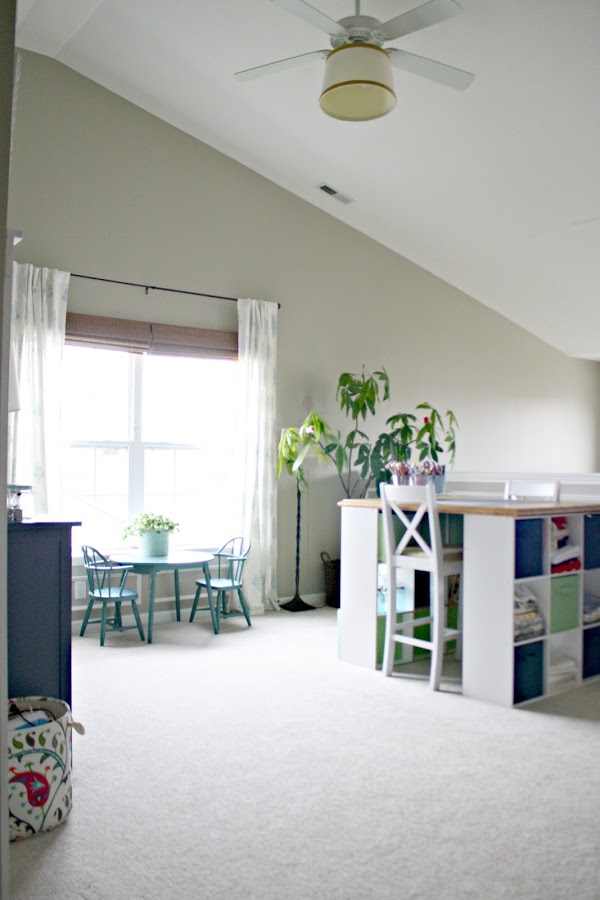
Here's how this view looked about a year ago: 
Craft room ideas

This room is the brightest in our home but also the most difficult to photograph. (Can't wait to try this camera attachment in here throughout this process!) 

Later I added a gallery wall and took down the lights:
Craft room storage

It was a cute space but I never felt like I was using all of the room well. I've had a plan in place for years now but we've had to hold off until we could get new floors put down in here. (The carpet is totally disgusting after 12 years.) We've been adding finished on site hardwoods throughout the house over the years and this is most likely the last room we'll have them installed. We waited because on site hardwoods are not cheap -- but I LOVE them so it will be worth the wait. 

Before they could get started (today!) I had to do a few things. I started by emptying out the room and nearly everything was given away or sold. We really didn't have much furniture in here anyway but I'm keeping very little because so much will be built in. I was actually going to keep everything until I was ready to install the cabinets but I figured having the piles of stuff in the guest room would spur me on to get things moving faster. That usually works for me. ;) 

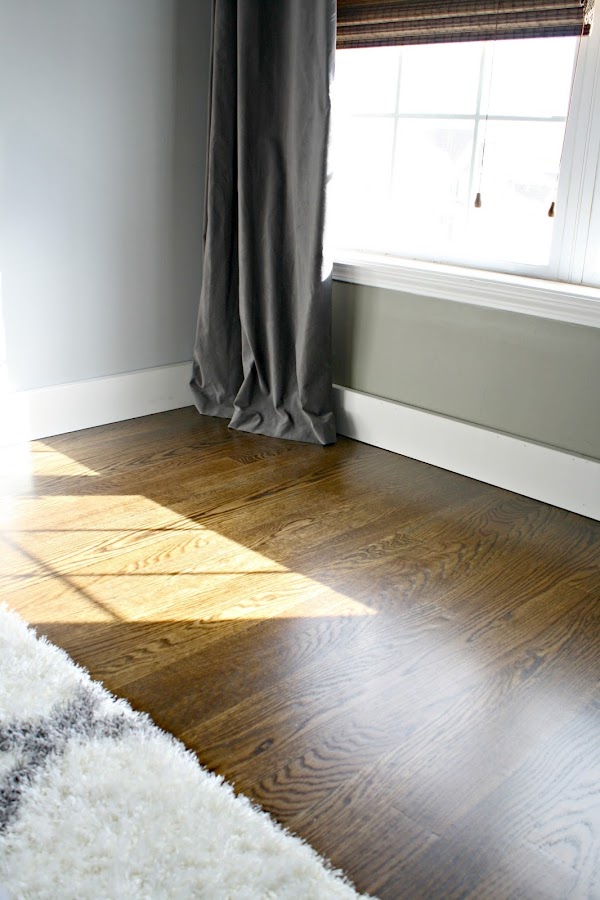
Next up I pulled out all of the baseboards. In the past when we've had the floors put in I've left them, but I always regret not removing them first. They aren't tall to begin with:

They are puny and even more so when the flooring goes in. It's taller than the carpet and they look even smaller when the floors are done. Plus trying to remove these after the flooring is installed is a total pain in the butt. They are hard to take off anyway but with the flooring it's nearly impossible to do without damaging the hardwoods. 

Because ours are so hard to remove and I've finally figured out the best way to do it, I'm sharing this quick tutorial here. If you need to remove baseboards where you already have carpet this will work well for you. If you have hard floors you'll need to put something down to protect your floors while working. 

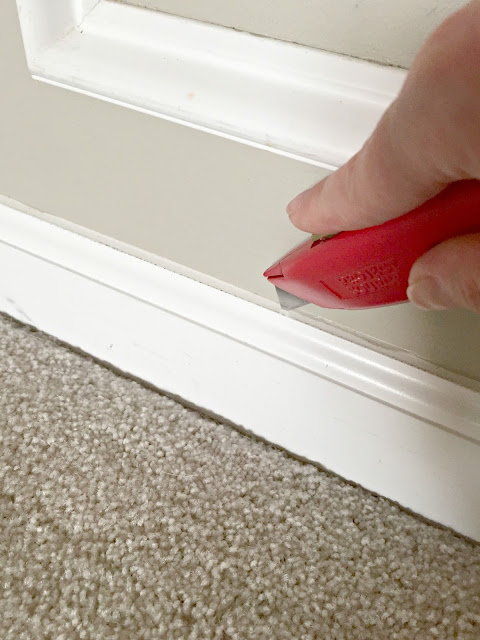
Step 1:  Use a razor to score your caulk along the top of the baseboards. I don't do huge sections at a time and I'll share why in a moment: 
How to take baseboards off the wall without damage

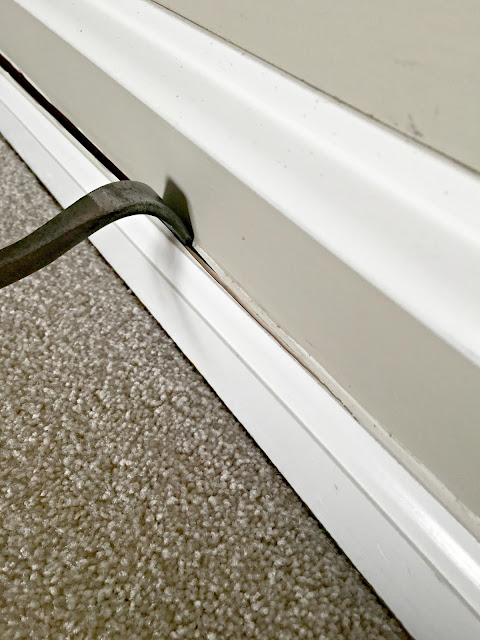
Step 2:  Grab your crow bar and hammer and start tapping your bar between the wall and the drywall: 
Easy tutorial on removing baseboards

Sometimes it takes a tap, sometimes a pound. :) So you see how I missed some of the caulk there? That's why I don't try to work all the way down the wall, because as you start to pull the base away from the wall just the slightest bit, it will make it much easier to score and cut that clean through. Don't pull too much because you'll start pulling the drywall away from the wall. If you're replacing the base with something taller then that won't matter much. 

Rock the baseboards away from the wall just a bit, but not enough to cause damage to the drywall. Move down the wall a little bit, but not too far just yet:
How to remove baseboards without damaging wall

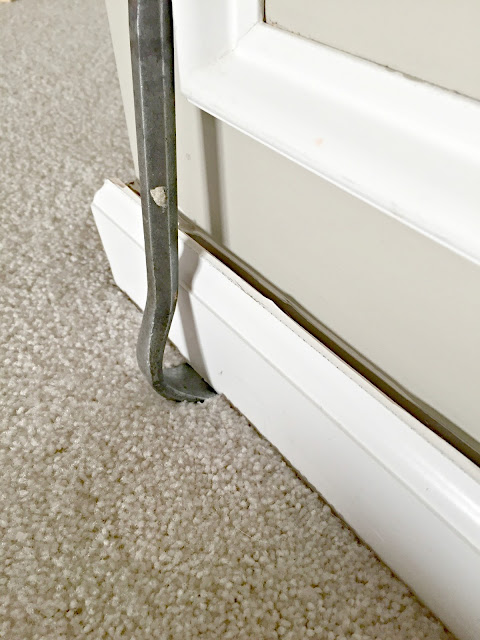
Step 3:  Now this the magical step that I didn't do for years and that's why it was so dang hard to get these out. Doing this will help tremendously if you have baseboards that are hard to remove like ours. Take the crow bar and leverage it underneath the base:
How to remove baseboards

Lift up -- it may take some muscle. Be careful here and make sure your crowbar is well under the base so it doesn't come loose and flying back at you -- you'll have to push down pretty hard. 

This is an important step because it releases all the nails from the bottom that are too hard to get to from the top: 
Easiest way to remove baseboards without drywall damage

I find most of the nails are down low and it's hard to get down there without messing up the walls. Once I figured out how to do it this way the process became MUCH much easier. I don't have any damage to our walls and before it was such a struggle to get them removed. 

You can also put a thin piece of wood above the baseboards and rock your crowbar against the wood instead of your drywall, but with this method I don't even have to worry about that. It works every time without drywall damage. 

I got the whole room done in just over an hour -- this isn't even all of it: 

This room continues over near the book nook so there was a ton to remove -- this way of taking it off the wall works so well I whipped through it. 

As you can see I also remove the board and batten from the accent wall -- that will get a new treatment. I removed the nails from the boards to keep them for the new door trim that will go in soon. I also took down the gallery wall and filled the holes. I will do another photo wall but something simpler. 

See those square on the wall? Those right there are why I now tell you to NEVER use glue to put molding up on the walls:
Wainscoting on walls

Unless you are sure you want it there for eternity, don't do it. Nails are enough. I haven't decided if I'm continuing the wall treatment around to that half wall, but they come down I'll be covering the damage anyway.

By the way, do you see that lovely pink wall color that was under the base? Yeah. That was a brilliant decision I made when we built the house. In my defense, it didn't look super pink till after we repainted

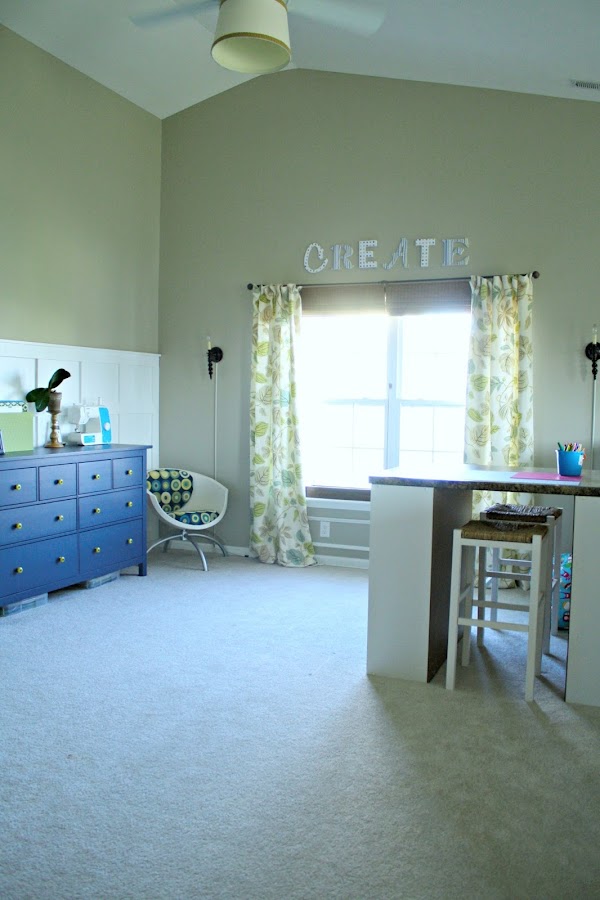
This is that same view as it looked earlier this week:
How to build a craft table

The craft table is disassembled and I plan to use that butcher block top on the built ins. The little table set it staying. :) 

You can see my plans for this room here -- I'm so stinking excited! I have cut down on the amount of built ins I'm adding but I think this room may be even more work than our kitchen if you can believe it. I have five doorways to trim out -- FIVE. Just the doors, base and window trim will take a week. The wall treatment will take at least one more, if not two. That doesn't even include the cabinets and window seat builds. It's going to be a labor intensive space but I have a vision and I'm really excited about it. 

The floors are going in as I type so I won't be able to do anything else in here till this weekend. I'll probably tackle the door trim then because that will need to be done before the wall treatment. Next week I have someone coming to move and add outlets and I hope to add electrical for sconces over the work space. 

I'm determined to get this room finished before the fall. Usually I sloth my way through the summer but not this year! I want a stress-free holiday season so I want this done before school starts in August. Wish me luck! 

Here are some projects from this space you may enjoy!

DIY craft table


Adding a shade to ceiling fan

Making baseboards taller without removing the old ones:  
How to install tall baseboards over old ones


Hello there! Hope you had a beautiful weekend! Our weather felt like summer may be sticking around for good -- it was perfect! I got so much done outside -- I've been focusing on the inside up till now and it felt good to get out.

We hung with friends this weekend for a going away party and I made one of my favorite desserts EVER. I'm not a big cook so when I share something here you know it's going to be good and easy. This is so yummy! It's a perfect combination of sweet and salty, my favorite. 

A friend of mine used to make this every time we got together and it got to the point where I would request it. I finally started making it myself with this recipe. There are a few things to clarify and I'll mention those here. 

Here's what you'll need to make this Strawberry Pretzel Dessert: 
  • 2 cups crushed pretzels (make sure this is two cups after you've crushed them -- I actually use a little more)
  • 3/4 cup butter, melted
  • 3 tablespoons sugar
  • 1 (8 ounce) package softened cream cheese
  • 1 cup sugar
  • 1 (8 ounce) Cool Whip
  • 2 (3 ounce) packages of strawberry gelatin
  • 2 (10 ounce) packages frozen strawberries (I use one 14 ounce package and it's fine)
  • 9x13 pan 
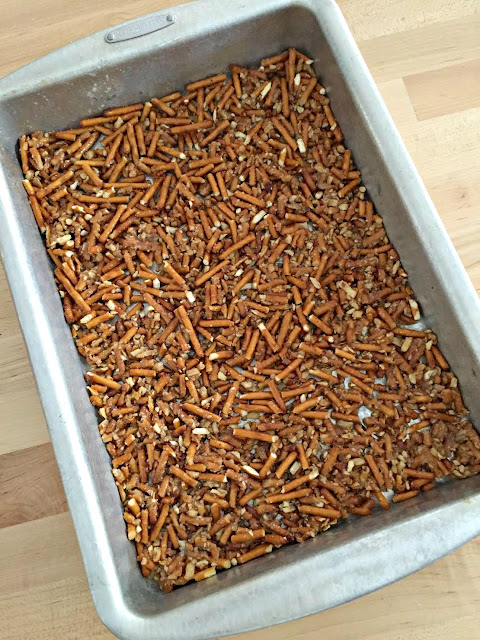
To make the "crust" take your pretzels and smash them -- I put them in a baggie and pound them: 
crushed pretzel dessert

Then mix the pretzels, melted butter and three tablespoons sugar: 
pretzel and strawberry dessert

Spread them into the bottom of a 9 by 13 pan till covered. (This is the pan I use -- there's also a cover that makes it really easy to transport.) 

Bake at 400 degrees for eight to ten minute and then set aside to cool:
Strawberry and pretzel dessert

You'll want this to cool before adding the next layer so I wait until this is out of the oven before continuing. 

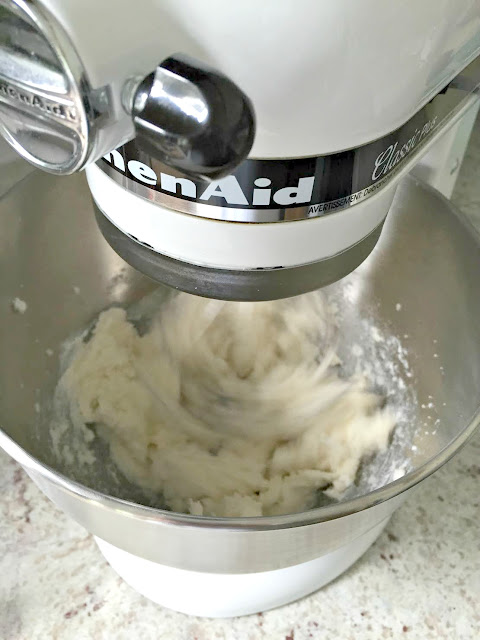
Mix softened cream cheese and 1 cup sugar:
Strawberry and cream cheese dessert

Make sure your cream cheese is softened (place in microwave for 10 second increments) to ensure you don't have chunks. 

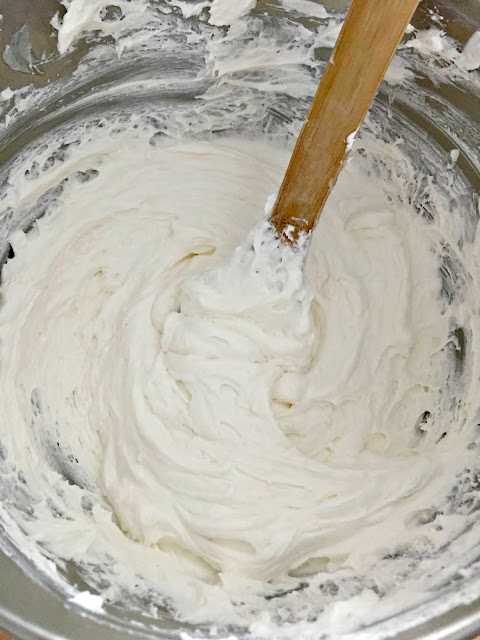
Fold in the container of Cool Whip: 
Strawberry cream cheese and pretzel dessert

Try with all your might not to eat it right then. :) Little fact about me -- I could (do) eat Cool Whip with a spoon. Delish. 

Spread this mixture onto the pretzels: 
Easy summer dessert

Important tip -- make sure to spread the cream cheese mixture to the edges and don't leave any holes. This will keep your pretzels nice and crunchy. 

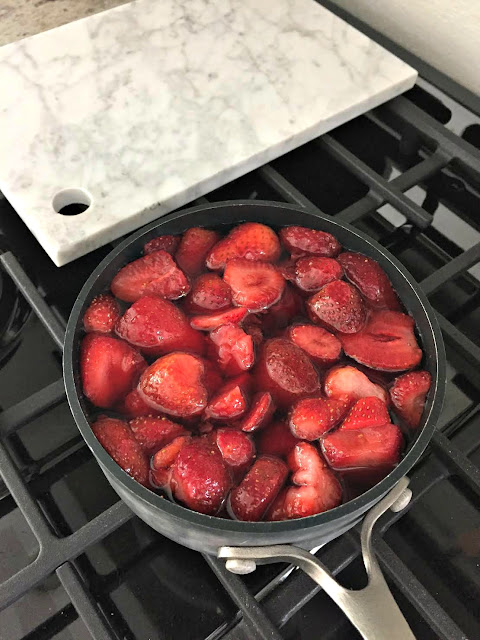
Next is the gelatin -- prepare in two cups of boiling water (according to the box instructions, just leave out the cold water at the end). Then add the package of frozen berries: 
Strawberry dessert with pretzels

You'll want this to set up for a bit -- the recipe calls for it to be a egg white consistency. I just put it in the fridge for five to seven minutes and stir. You'll know when the gelatin is starting to set up.

Spread over the cream cheese mixture. Let set up even more -- even an hour is fine. 

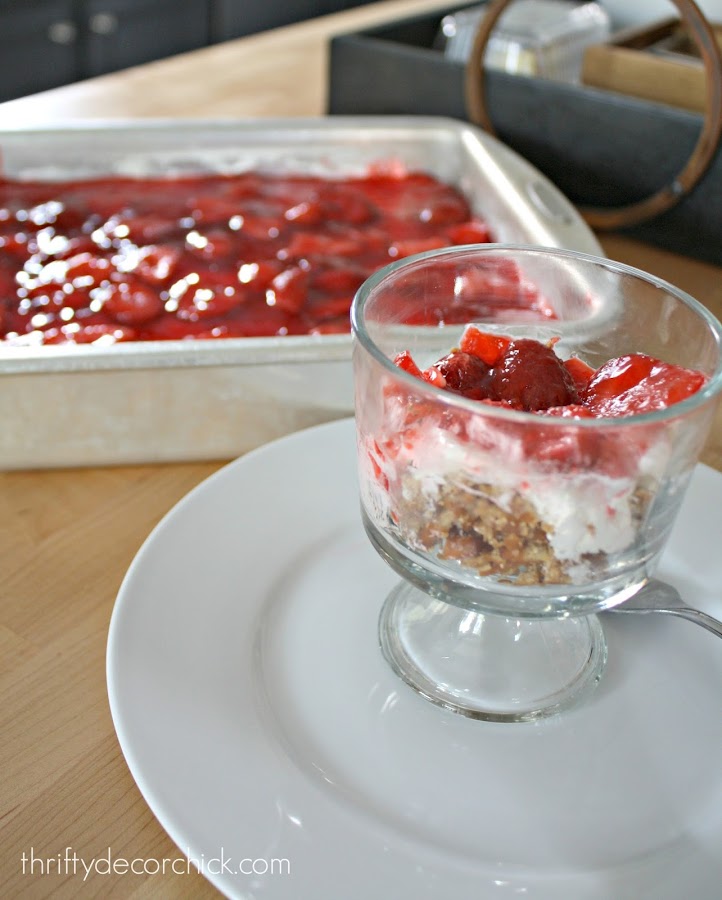
I'm telling you -- this is SO good. I warn you though, it's addicting. You'll have one piece and then need more: 
Pretzel and strawberry dessert

I love the combo of the creamy and crunch and sweet and salty. It's a lovely summer dish -- I hope to make it again with fresh picked strawberries soon!

Have you tried this dessert? Any twists on it that are worth trying? It would be a great one to bring to Memorial Day get togethers this weekend! Add some blueberries on top for a patriotic look. :)
Strawberry cream cheese and pretzel dessert

Check out some of my other favorite recipes!


Affiliate links may be included for your convenience! 
Hello there and happy Friday!! Hope you've had a wonderful week. So this is a fun day in TDC history because it's the eighth birthday of Thrifty Decor Chick! This is officially the longest job I've ever had -- ha! I cannot believe I'm starting on my ninth year of doing this -- what a crazy and absolutely wonderful ride it has been. :) I think I'll have a cupcake to celebrate.

I'm back today with a recap of projects from the past few months. I like to do this every so often (I used to do it every month but you know how well that goes) to share what I've been up to in case you missed something. Can't have that. 

I'm picking my favorites from February, March and April to share with you today. Enjoy!

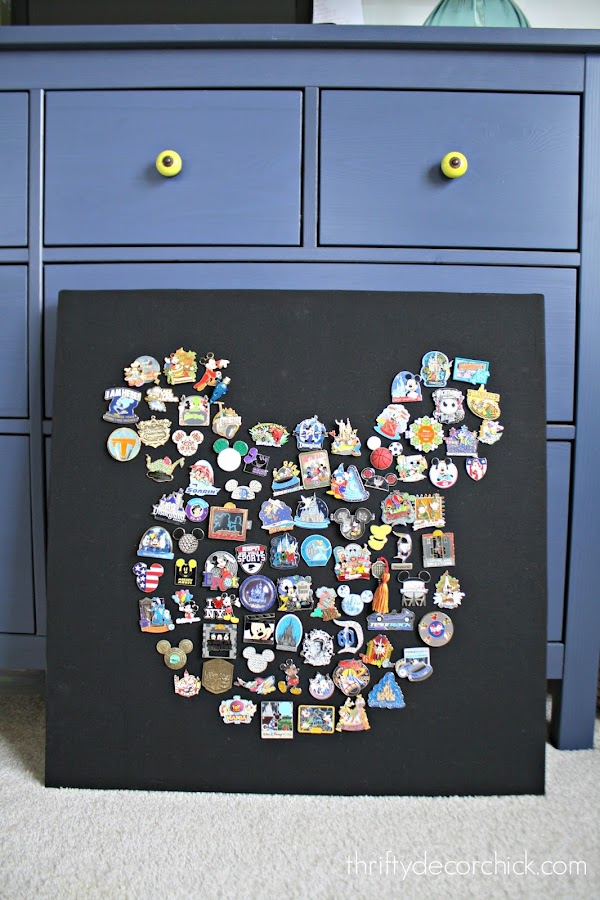
This Disney pin art is seriously one of my favorites ever: 
Disney pin art

It's still holding up great -- I LOVE it. See how we created it at the link above. 

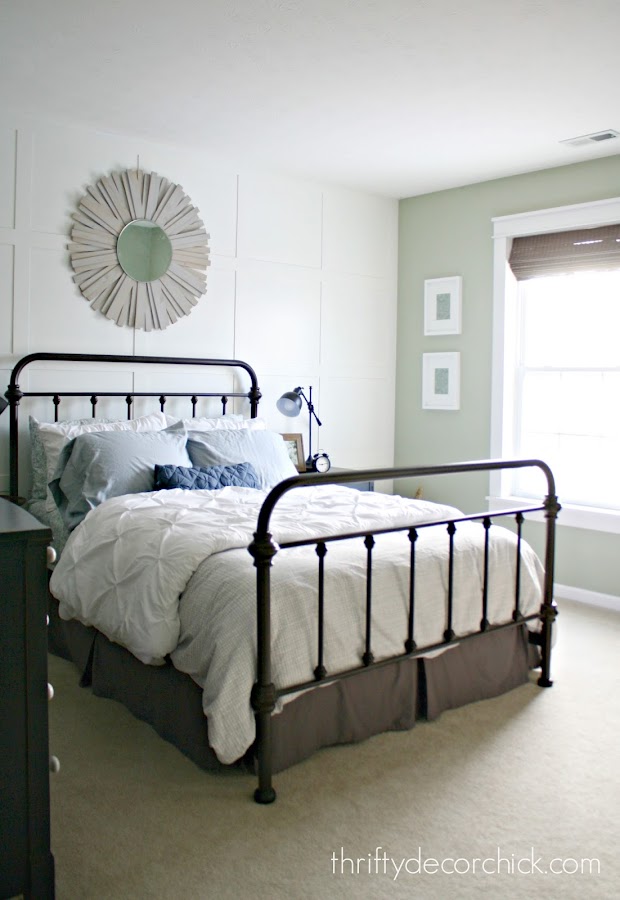
Our guest room has undergone some changes over the past year and it's so close to done. I changed up the color of the accent wall, added some new nightstands and showed you the new art in the room (it's adorable):
Farmhouse bedroom ideas

Our master is almost done too. Earlier this year I finished the painting, added new bedding and then made new pillows for the bed:
Gray accent wall with trim

I adore this room -- it's so soothing and pretty but the darker accent wall gives it some drama. (Still need to finish those nightstands!)

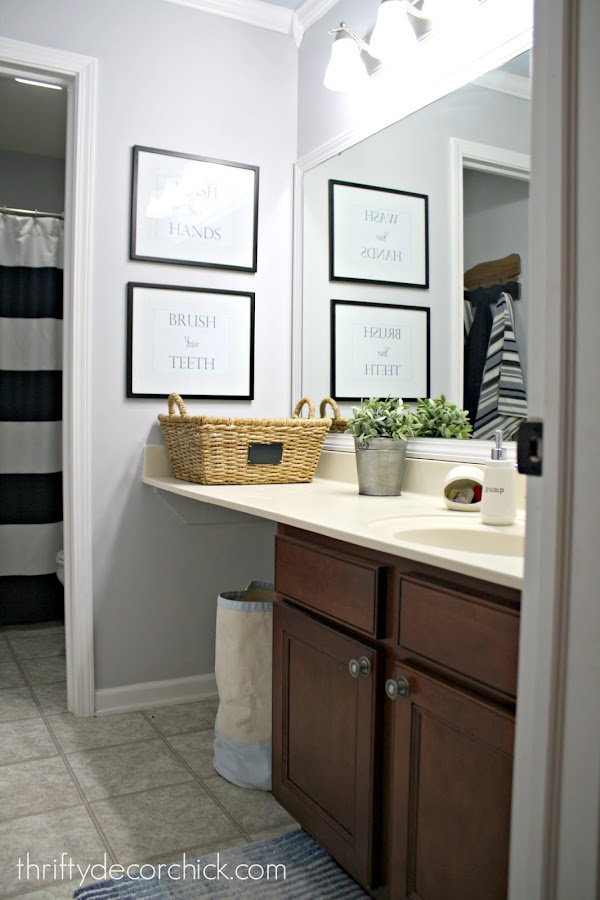
One of my favorite redos I think I've ever done was my son's nautical bathroom. The difference paint made was truly astounding: 
Simple bathroom makeover

You have to see the yellow before to really get a good idea. Plus the new daylight bulbs make a HUGE difference in here. 

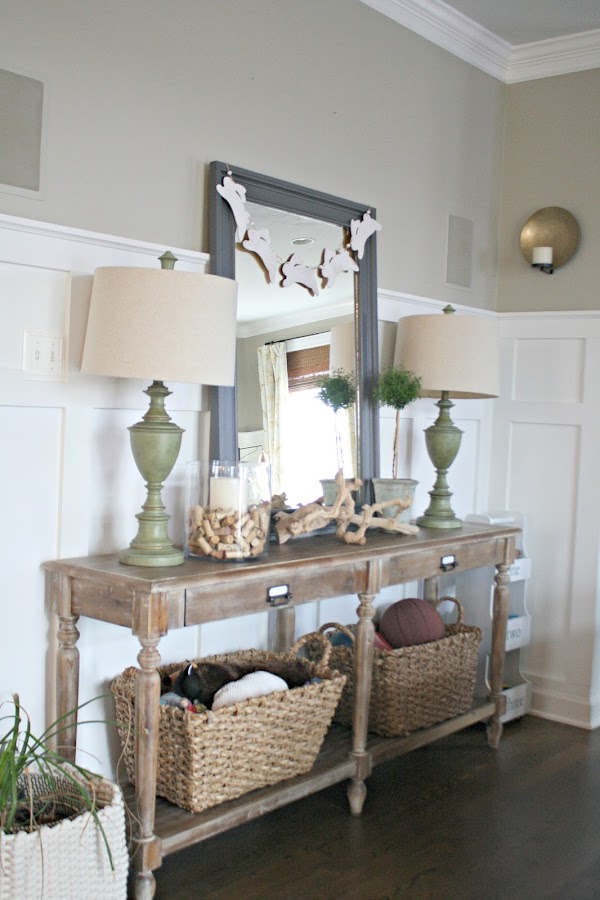
I shared my top five decorating essentials and how I use them throughout the house: 
World Market everett table

I had to laugh when I wrote that because I do really stick to a lot of the same items, just different versions of them. They work!  

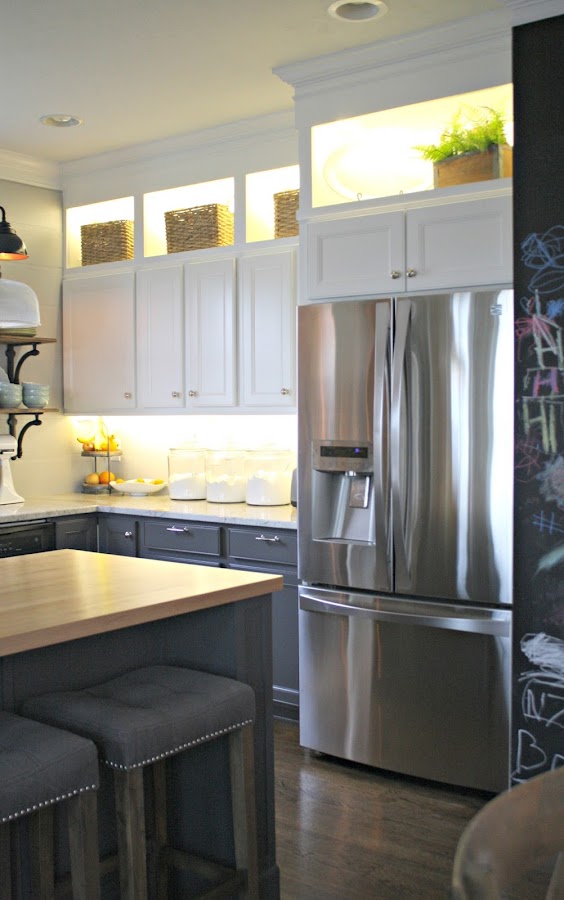
I finally finished up the upper cabinet lighting in the kitchen and shared the tutorial for that and under cabinet lighting
How to install upper and lower cabinet lighting

This is such an easy project -- I promise! It looks difficult but it's not. I share all the items we used with links to everything in that post. 

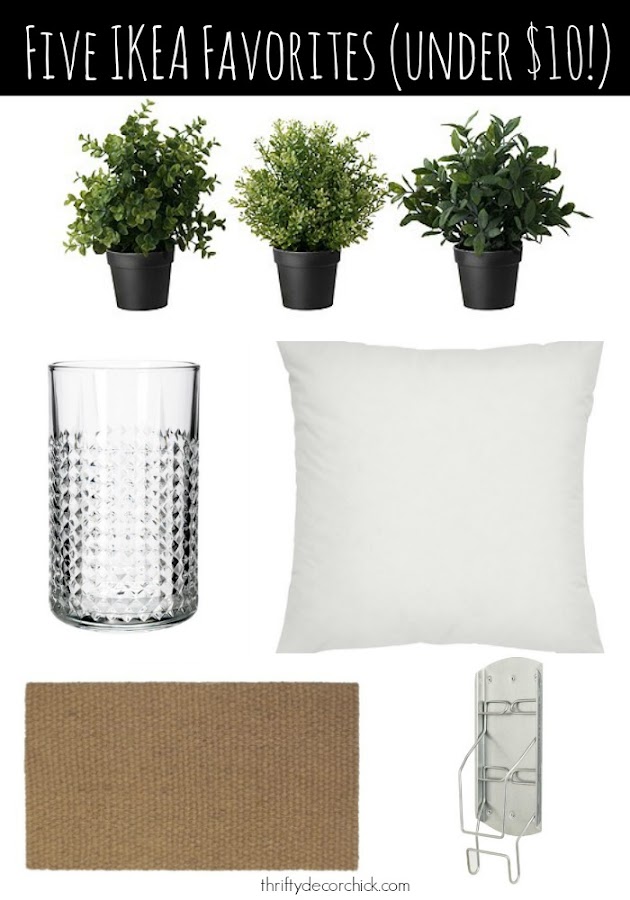
We got the news recently that there's an IKEA coming to Indiana (WHOOT). There are a few staples from that store that I love that cost less than $10

Five IKEA favorites (under $10)

I use most of them every day and they've all held up great. And you can't beat the price!

I went a little off topic when I joined in with some friends to share my favorite makeup

Gimme Brow

I use that Gimme Brow all the time -- love it! This was a fun post for this DIY girl. :) 

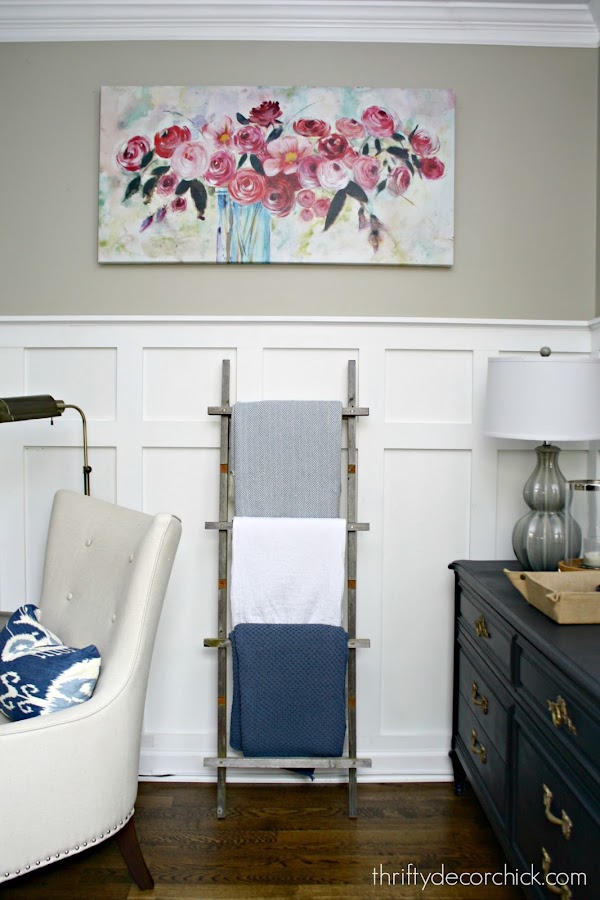
I've always wanted a blanket ladder and you'll never believe what this one used to be: 
Upcycled blanket ladder

I love reusing something that was headed for the trash!  

I have been purging our house for months now and I'm thisclose to done! I've shared how I organize some of our closets, including the linen closet
How to organize a linen closet

And the coat closet
How to organize a coat closet

As well as one of my favorites in the house -- our cubby toy storage
Toy storage in built in cubbies

I've been following the Konmari method and it's truly changed my life. I'm not kidding, it has rocked my world. Our house is cleaner and more organized than ever. 

In April it had been 12 years since we built and moved in to our home -- another milestone because before that the longest I ever stayed in once place was four years and that was a long time for me. I'm so in love with our home and feel so fortunate to live here. I shared the before and after photos of the rooms in our house to celebrate and one of my favorite transformations is our living room: 
Slipcovered sofa in neutral color

Again, you really have to see the before to see how far it's come. Some of the befores are pretty amazing. :) 

There you go! A recap of the past three months all wrapped up in one post for you. Of course there were many I didn't include but I know you've got stuff to do. ;) 
Have a great weekend my friends!! 


Popular Posts