In my flip flops. And tank top.
Grrr.
I know…it’s awesome and all, but I’m already missing my sweaters. I was just getting used to cozy again. :)
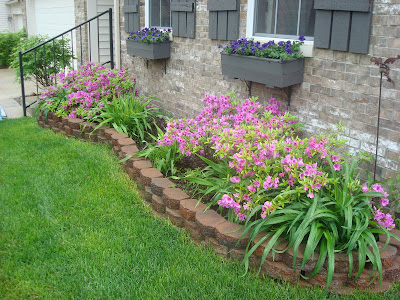
Anyway, when we built our house, we upgraded the elevation, (exterior of the house) but didn’t add any extras to the curb appeal – landscaping, lights, etc. So I did a few updates soon after moving in:
MUCH better. :)
I also replaced our look-away-from-the-shiny!! brass coach lights. They were way too small for the scale of our house and they were practically blinding us with their brassy-ness. Brassiness? Whatev. They were ugly.
Anyway, I replaced them with much larger versions that were a pretty, dark bronze color:

Well, they were a pretty dark bronze color. It’s been about six year since I installed them, and they sure look their age:

In my book, the only thing worse than shiny brass coach light is a pink coach light.
Back in the day, they matched the light on our porch:

We don’t get much full sun on the front of our house, so I chalk it up to the fact that they were fairly
So because I still love the size and design of the lights, I had a little idea in my noggin. On a recent trip to True Value, I checked out the fantabulous spray paint aisle:

I knew I wanted the lights back to their original dark finish so they would pop off the brick. I checked out a few oil rubbed bronze options and it turned out my old stand-by can be used indoors and outdoors:

Thankyouverymuch Rustoleum! And True Value! Kisses.
I thought I could just take the top off the light fixture and remove the glass, but that wasn’t working. I had to pretty much take the whole thing apart:

I set all the parts aside and cleaned everything well. Even more of the finish came off as I cleaned:

And this is the part where I am taking pictures of a dirty paper towel in our front lawn, realizing my neighbors are wondering why in the world is Sarah standing outside taking a picture of a dirty paper towel in her front lawn.
I would love to know what goes through their heads. You know what…maybe I don’t. :)
I picked up a roll of paper at True Value as well, and taped it up all around each light:

YES…I know I could have just taken the lights down. But that would have taken more time than just slapping some paper up there. And it was extra fun because the paper taped to the garage caused quite a few what-is-that-chick-doing? looks as folks drove by. :)
A sweet little girl from down the street even walked down to ask why I had paper all over the house.
It’s hard to explain the power of spray paint to a sweet five-year-old. :)
I put the parts aside so I could spray paint them separately:

I did two coats on everything – making sure to use very short, light sprays. I didn’t even use primer – I figured if the ORB paint ever wore off, I’d rather the pinky tone show through than white primer. :)
The result?:

LOVE:

I ended up giving the glass a good cleaning – wow, they were nasty. Now the lights are about ten times brighter, which is a bonus. :)
They pop off the house now, AND they match the porch light again too:

I like the new finish even better than the old one, so I may spray the porch light as well.
I think coach lights this size in a similar look are going for at least $50 each now – so I figure I saved $100 by just painting them.
Can I get a hollaaa for spray paint? Whoop! Love it!
Now, I have no clue how this will hold up. Even though the can says you can use it outdoors, you never know…but even if they last till next summer, I’m totally happy with that!
It took about an hour to finish, so yet again, the investment was in my time. And one hour to save $100 works for me!
I think they look SO much better, yes?


Have you saved some cash with spray paint lately? Spill it!
I was one of the bloggers selected by True Value to work on the DIY Squad. I have been compensated for my time commitment to the program as well as my writing about my experience. I have also been compensated for the materials needed for my DIY project. However, my opinions are entirely my own and I have not been paid to publish positive comments.


0 komentar:
Posting Komentar